Mr Bumble is a chafer..........
My Roadster only chafes at the bonnet corners, and neoprene has fixed that. The Roadster doors don't chafe anywhere.
Chafing doors are common. I know that because several of the pride of ownership cars at Canterbury had chafed door frames.
Mr Bumble is well chafed around the doors and bonnet. The worst bonnet chafe is the nearside bulkhead, which is quite deep. I've realigned the bonnet catch to improve matters.
Remove-put in vice-apply violence-refit and test.
The doors have chafed along the bottom edge, wearing the paint on the door and the body, and the nearside scuttle, and slight wear on the B posts.
The hinges on the nearside tightened a quarter turn. The wing securing Allen headed bolts, visible when you lift the bonnet almost all tightened a quarter turn, and the nearside rear bonnet catch was 'loose'. So it's worth checking. I would be very disappointed if my new Mog chafed like this, but it's nothing a collection of neoprene can't fix, and photos will follow when I get the time. At present I'm 'busy' in the garage!!!!!!!!
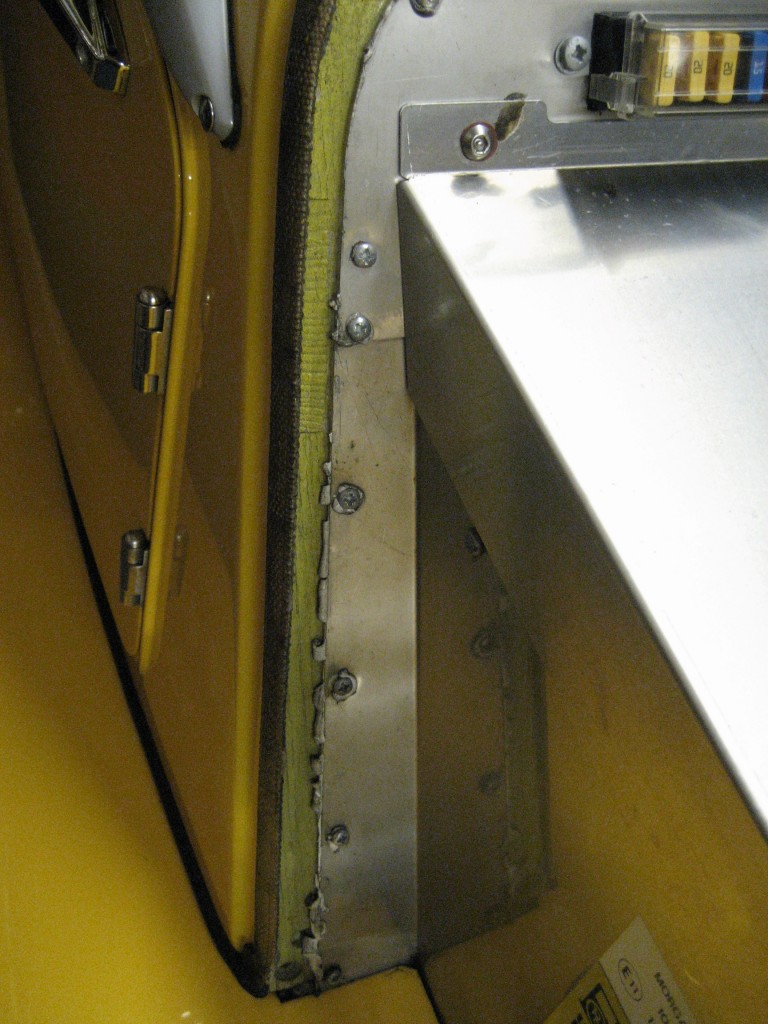
The other issue is that there are two pinch points where hoses rub on the hardware, and this has already been raised on TM. The hose on the nearside which passes over the alternator is too tight and rubs on the alloy. Similarly, one of the heater hoses does the same on the edge of the bulkhead. Both fixed with neoprene pads, and photos will follow.
Crikey I'm enjoying this.
Does anybody know the paint code for Sport Yellow?
***********************************************************************************************
It's already been discussed on TM that some of the Plus 4 hose are tight and may rub on the hardware.
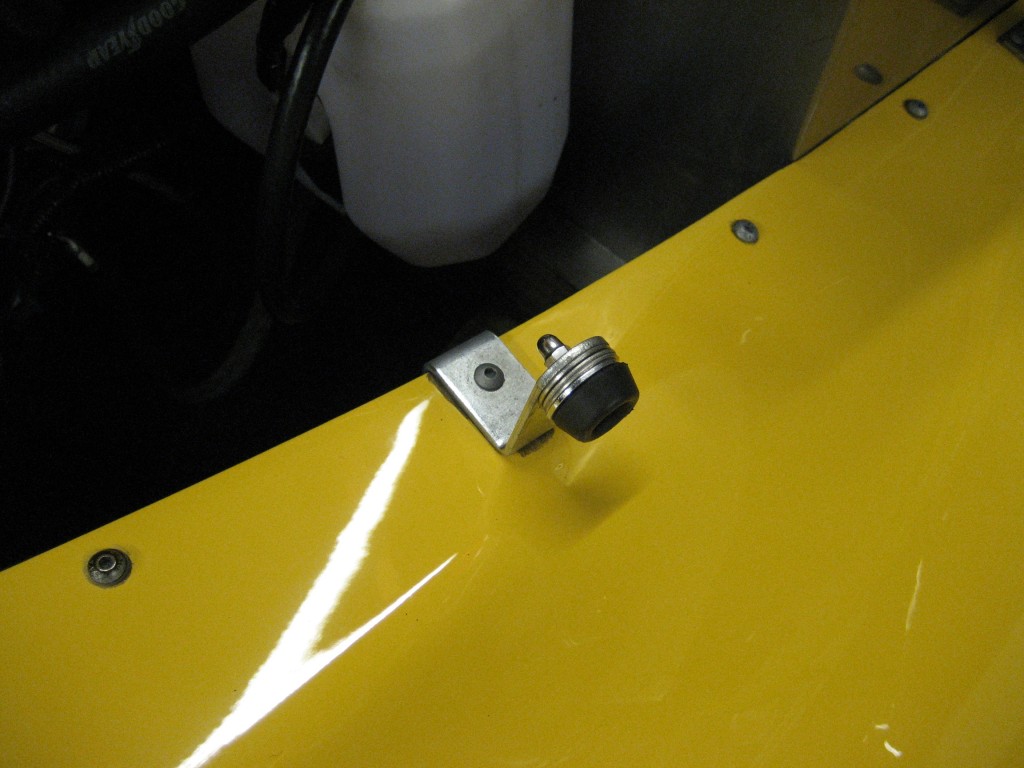
Here's one - tight against the alternator bracket. I've squeezed a rubber buffer in the gap for now but this needs a better hose for clearance:

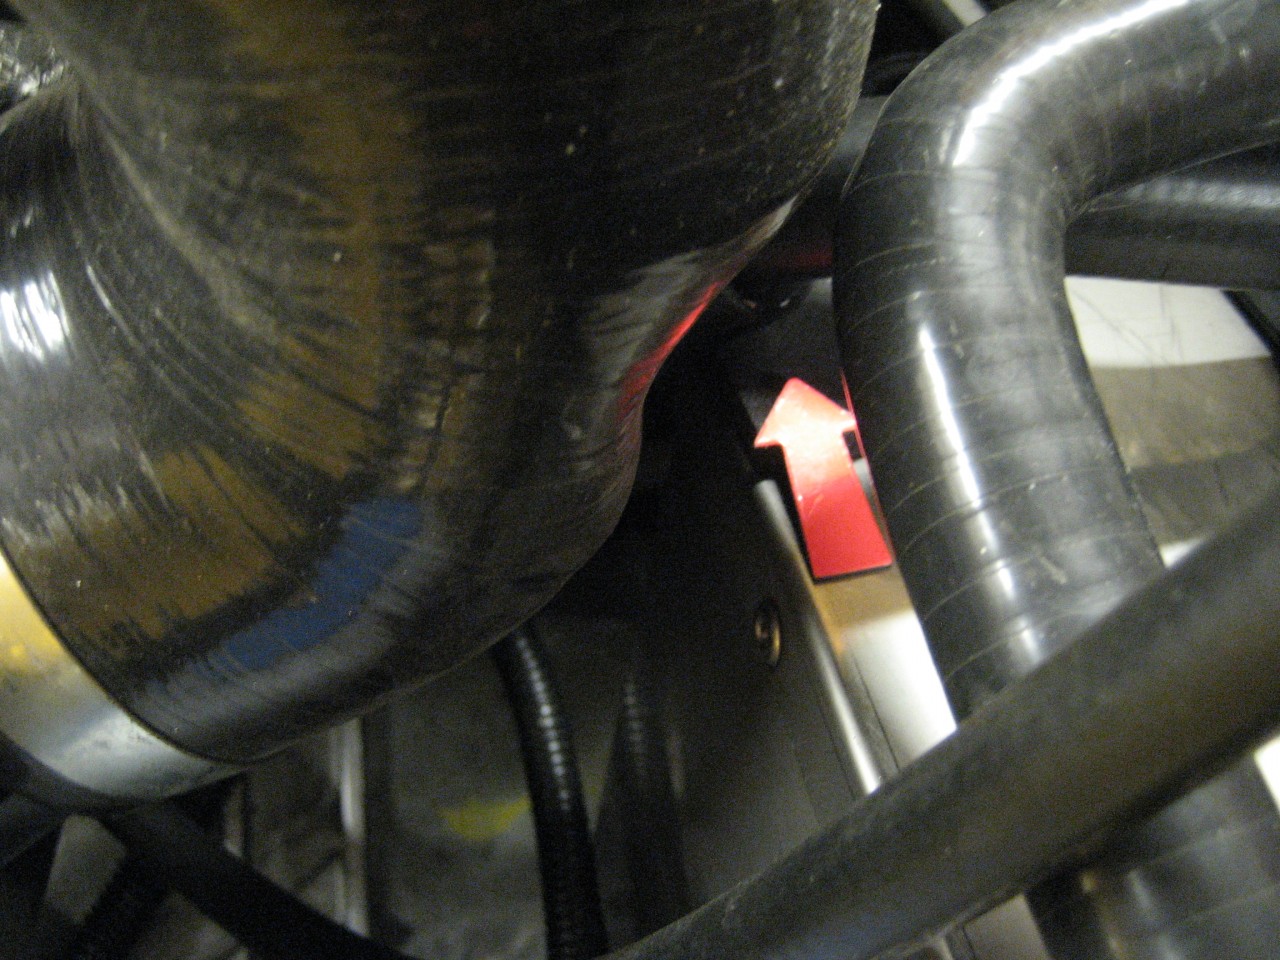
This is where the T piece taps on the bulkhead, easily fixed with a neoprene pad. In 2016 the factory do this mod!

And here the heater hose passes over the bulkhead corner, again fixed with a neoprene pad.
************************************************************************************************
Rusty door hinge Allen screw heads?

Clean as best you can, then cover with screw caps:
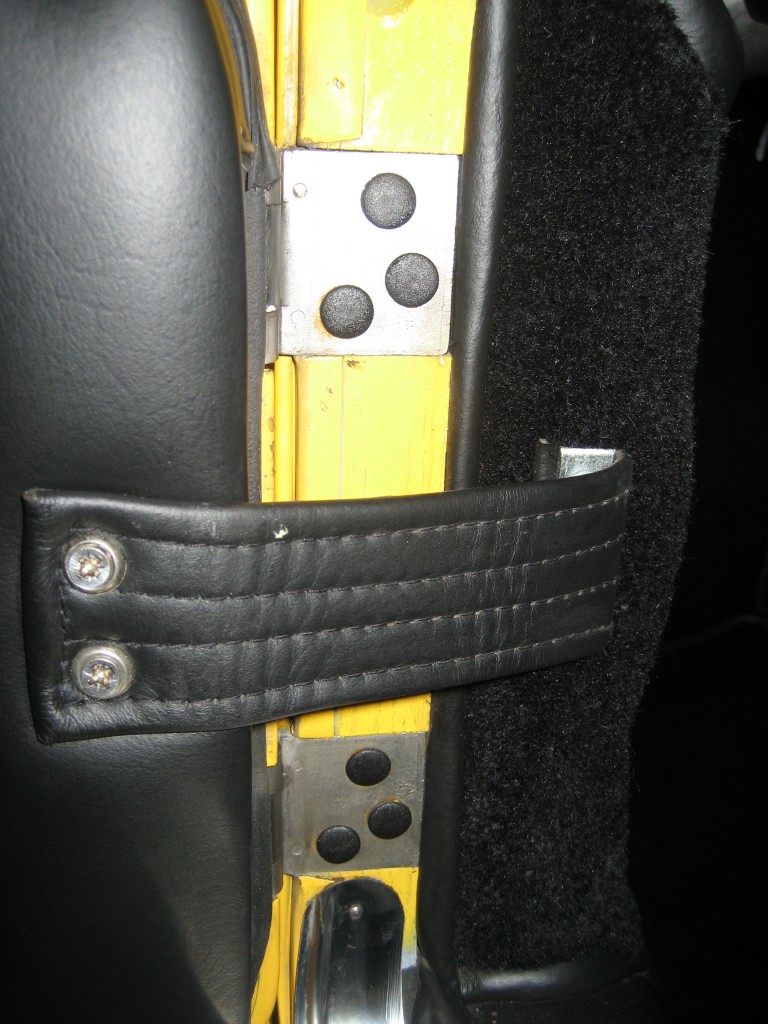
The nearside hinge screws tightened a fraction.
************************************************************************************************
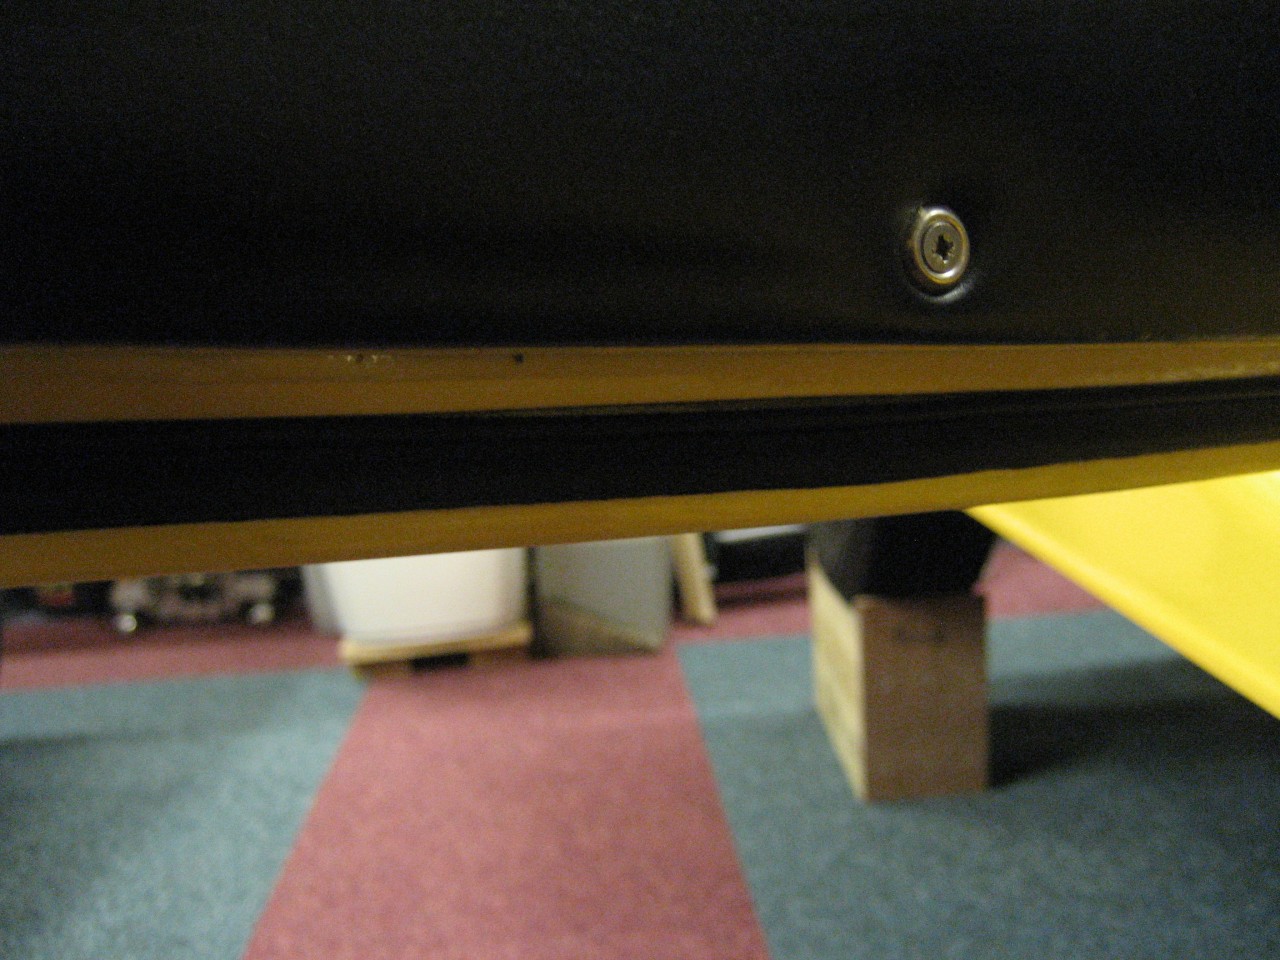
Here he is in dry dock..........Slight pun intended.
More to follow tomorrow.

By the way, the gearbox has an external slave cylinder, and is canted over to the nearside. The level plug is on the nearside so is lower than it would be if level. so to refill the gearbox will need the car to be higher on the nearside to get the right level. It also has an old fashioned square plug............

*************************************************************************************************
Some chafing pictures:
First the top edge of the scuttle:
The touch up (a Fiat yellow) is a closer match than it looks here, but you'll see in the next picture why it doesn't matter.

My solution after a bit of head scratching is a leather patch on both sides. We'll see how that goes. Secured with double sided tape.

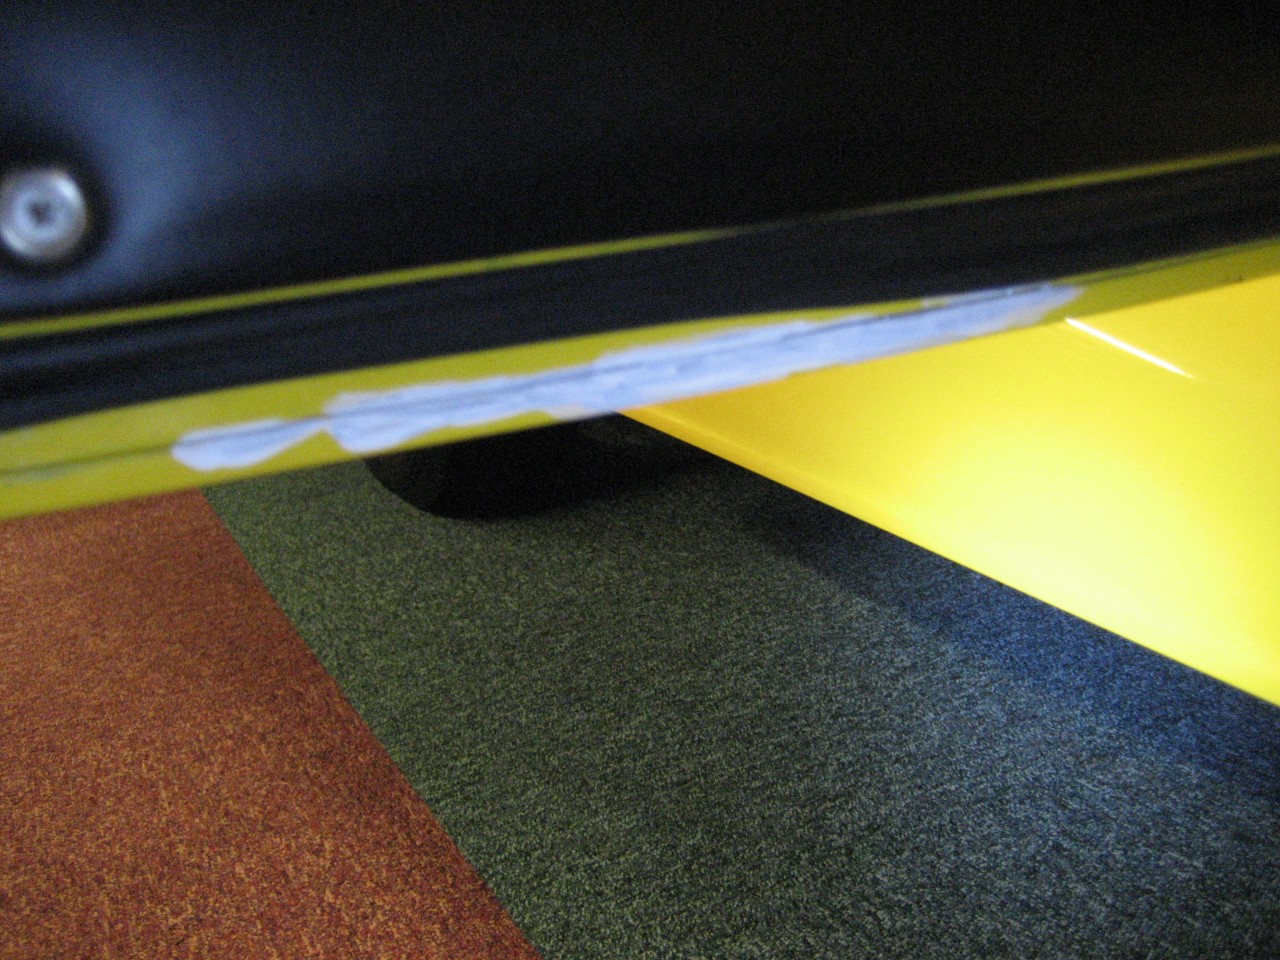
Here's the body under the doors:
This is not uncommon, and you need to check your car regularly here, although my Roadster doesn't chafe here at all.

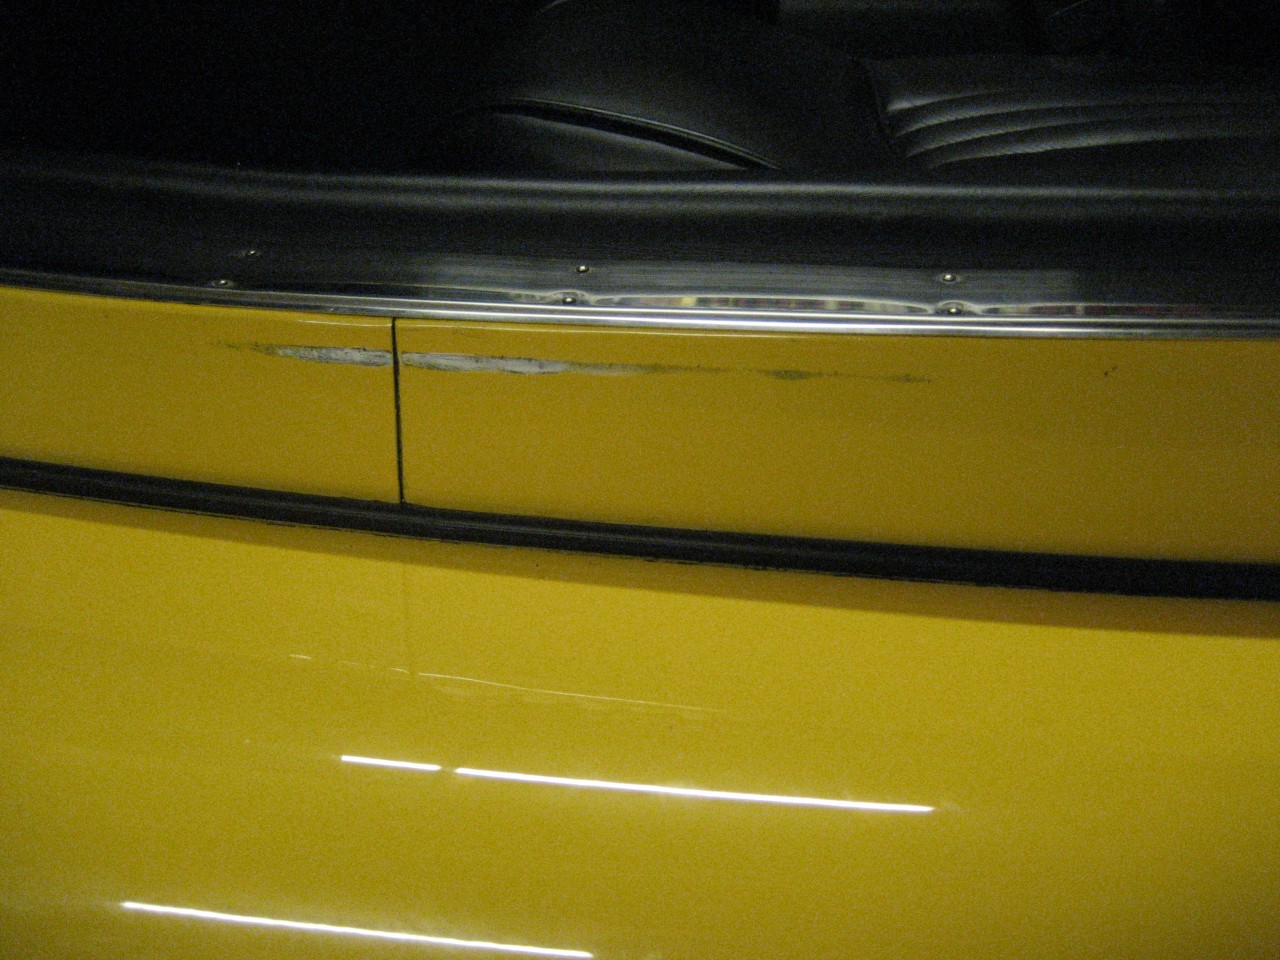
The door bottoms were also down to the alloy, here I've blobbed some etch primer on, before top coating. You can get away with taking liberties down here because it doesn't show. It's not worth too much effort either if it continues to chafe.

This next one shows the sealant on the bulkhead, which I've now tidied up.
******************************************************************************************
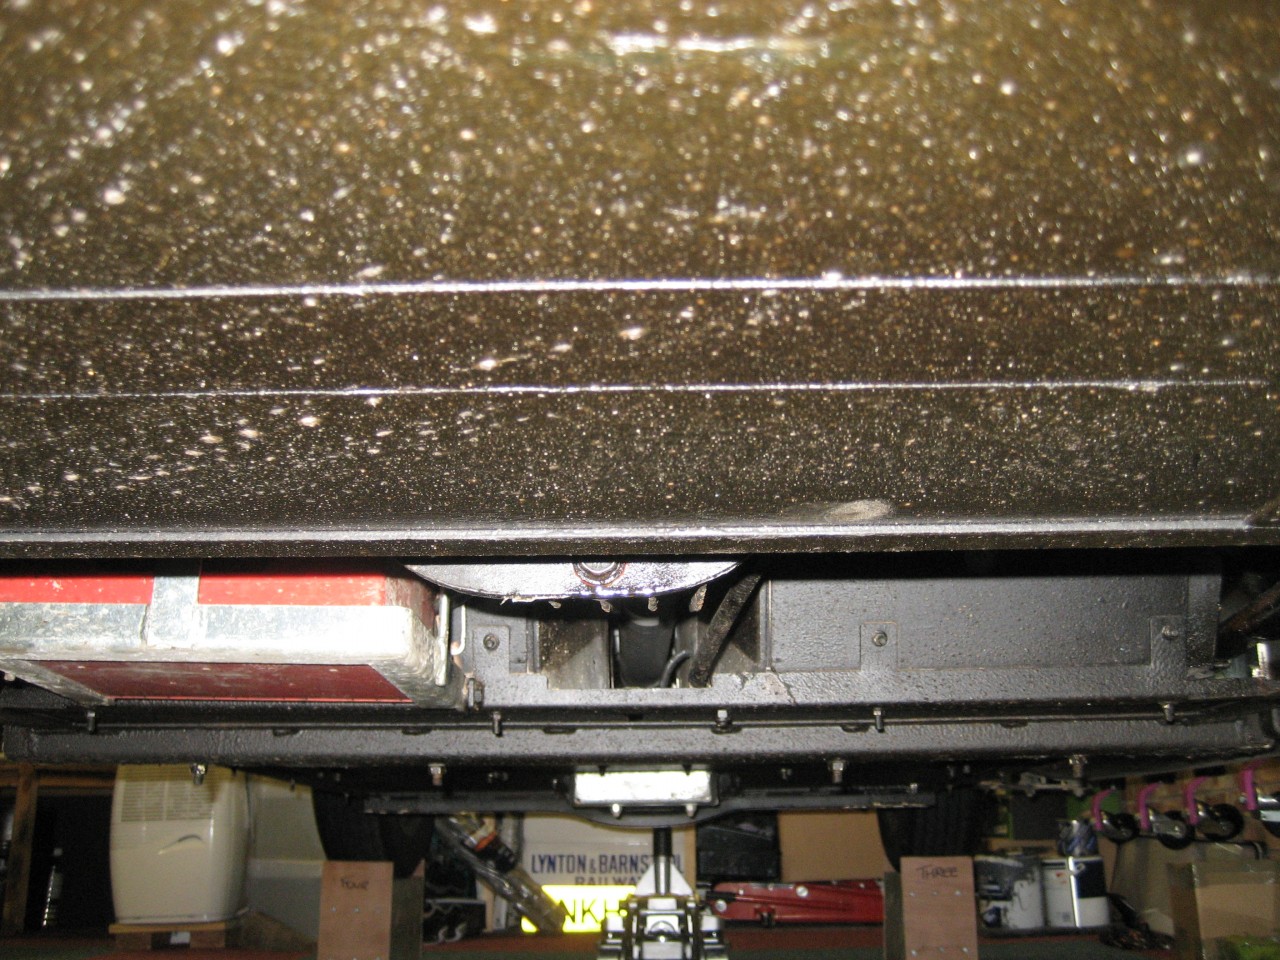
The underside is a mixture. The floors are almost pristine, having been under sealed by the factory, and have remained shiny and black. This must be because road spray stays under the wings. The wings need some serious TLC.
This picture is the nearside , showing some spattering, but also shows the limitations of factory applied under seal, (which extends into the spare wheel well - must be applied with the wheel removed because it's comprehensively black inside).

The sump is well tucked out of harms way............
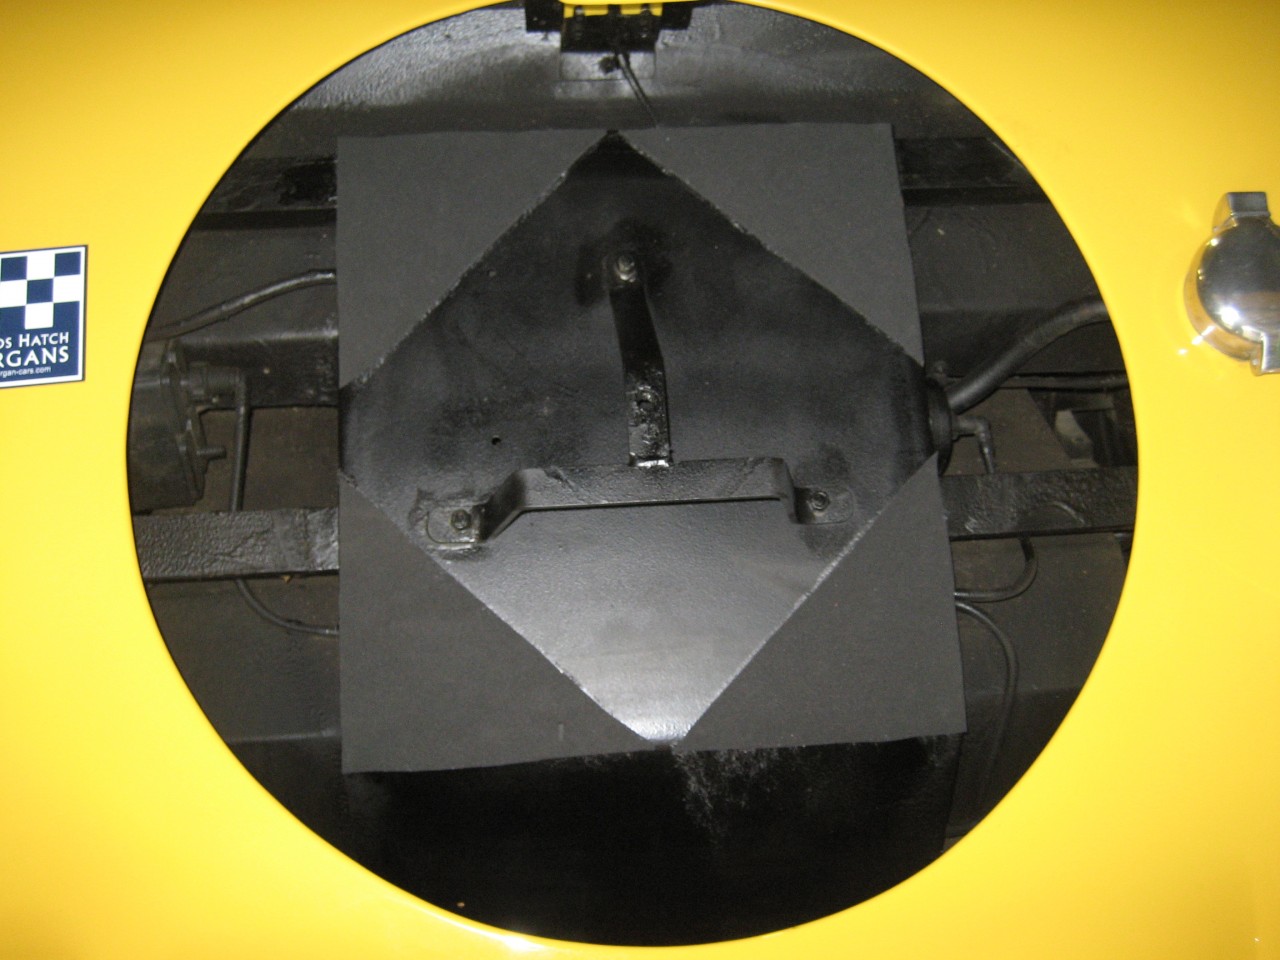
I've added neoprene corners for the wheel to sit on, but you get the black picture clearly here:
This is what happens to the edge of the rear wing on pebbly roads after 12k miles:
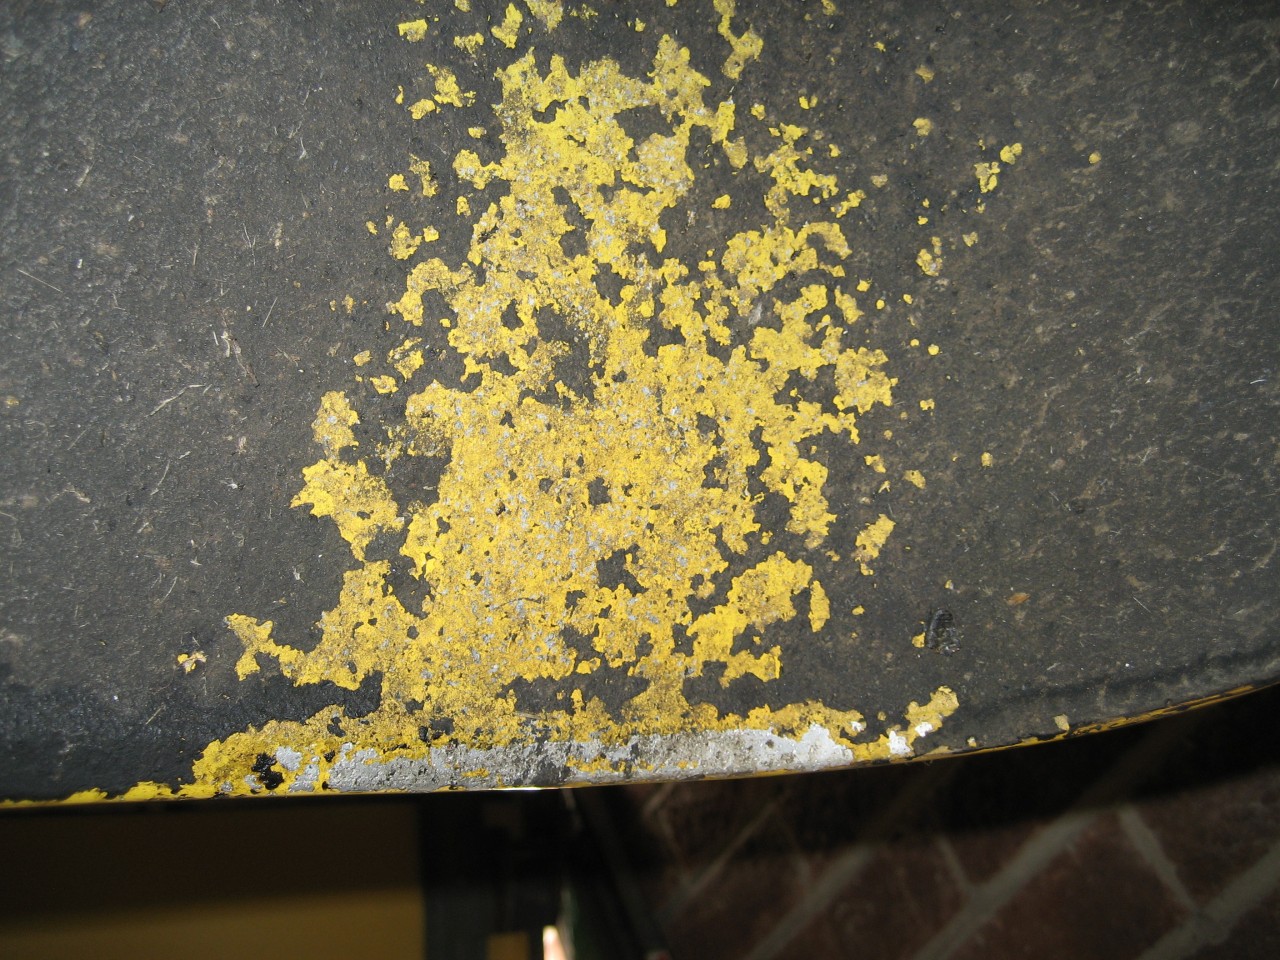

I've treated it for now but it needs more work. The other side is not so bad because the exhaust offers some protection.
******************************************************************************************
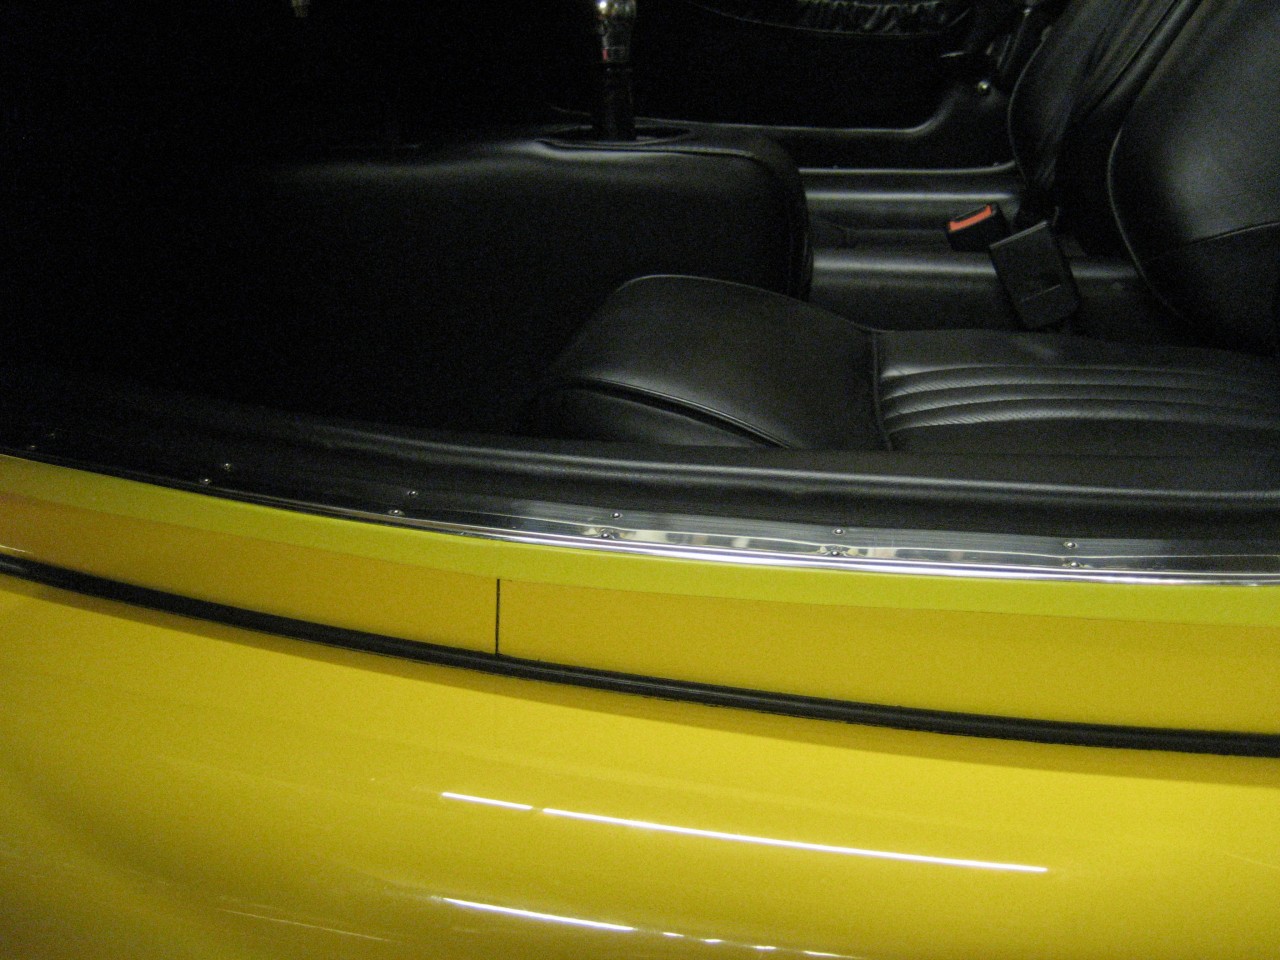
The door bottoms are sorted for now......with extra rubber seals, and I've reset the latch on one side.

But before I get serious with the body I need to see if the chafing continues, so after some experimentation with clear 3m, some electrical tape has covered it for now:

There was also some chafing on the drivers seat:
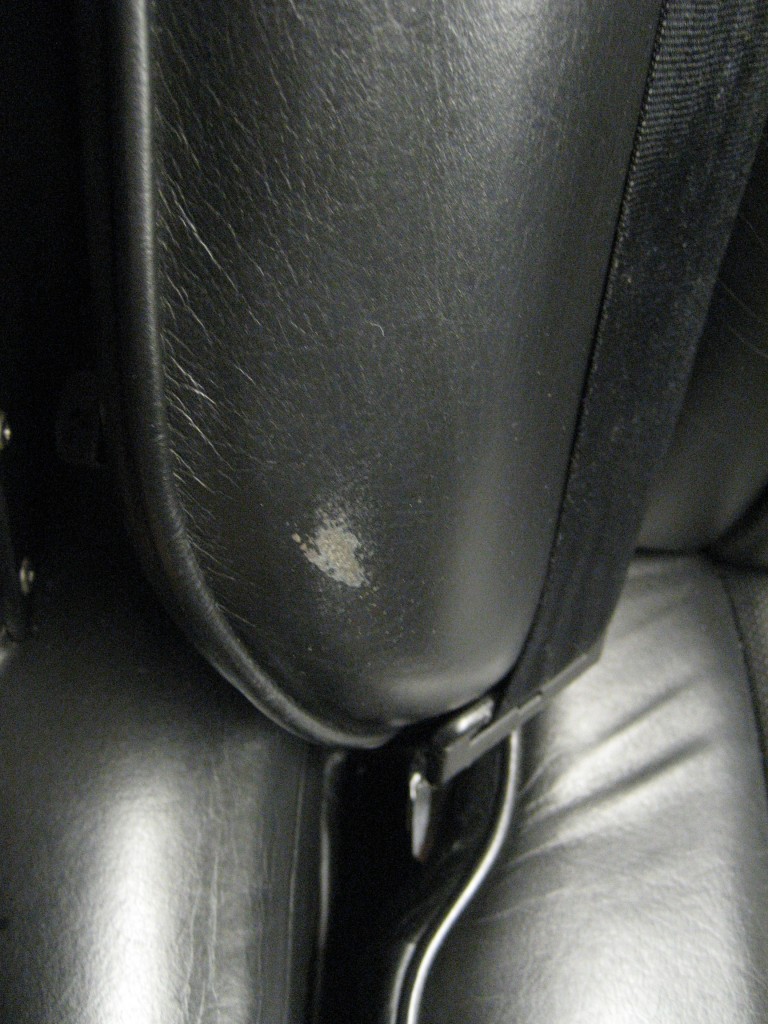
But the Furniture Clinic kit has sorted it. I'm a real fan of this:

************************************************************************************
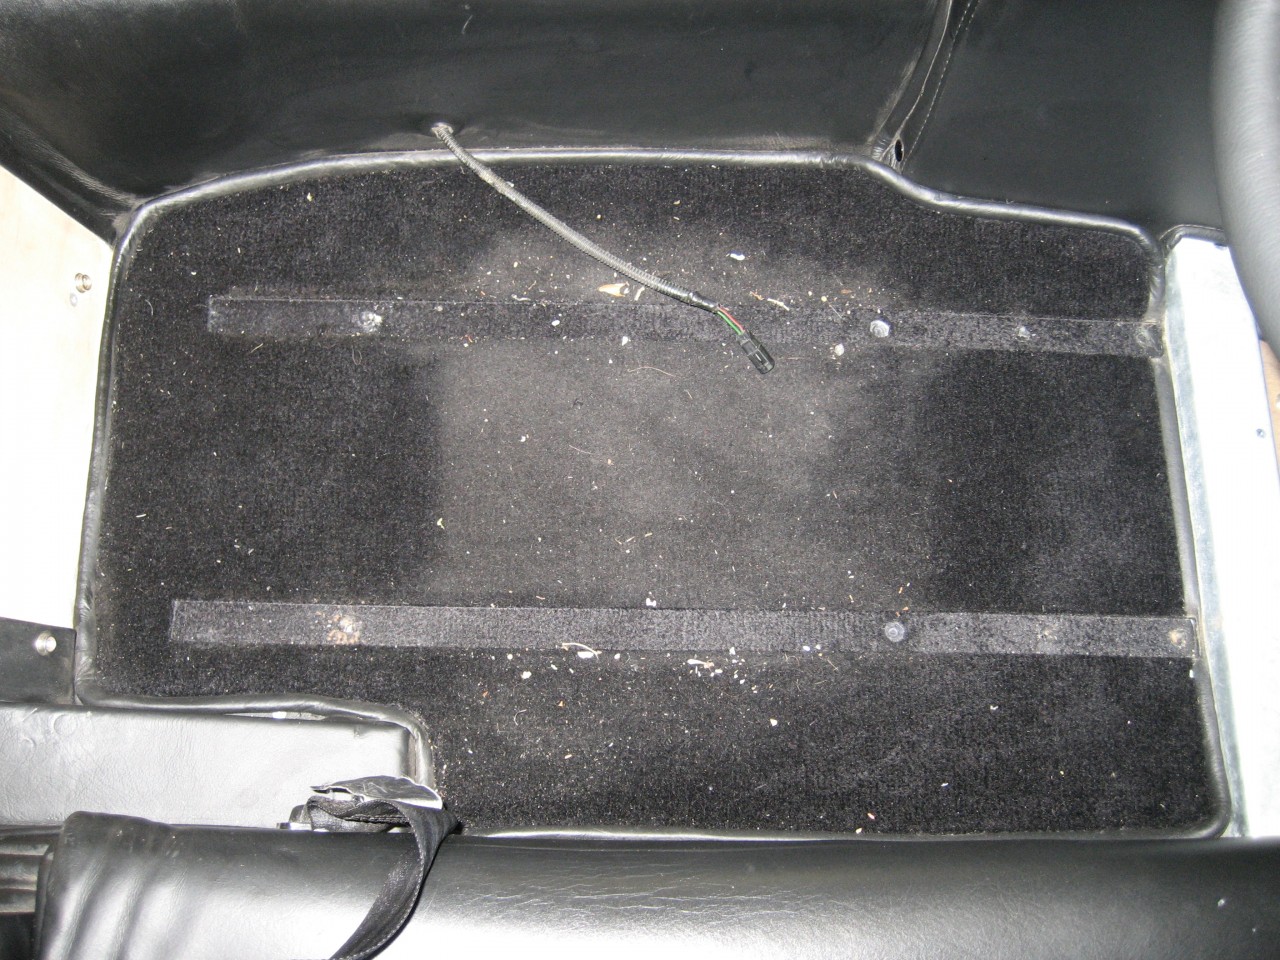


Drivers side floor: I assume the wire to the seat is a seat belt warning thingy. Tacked down as usual.
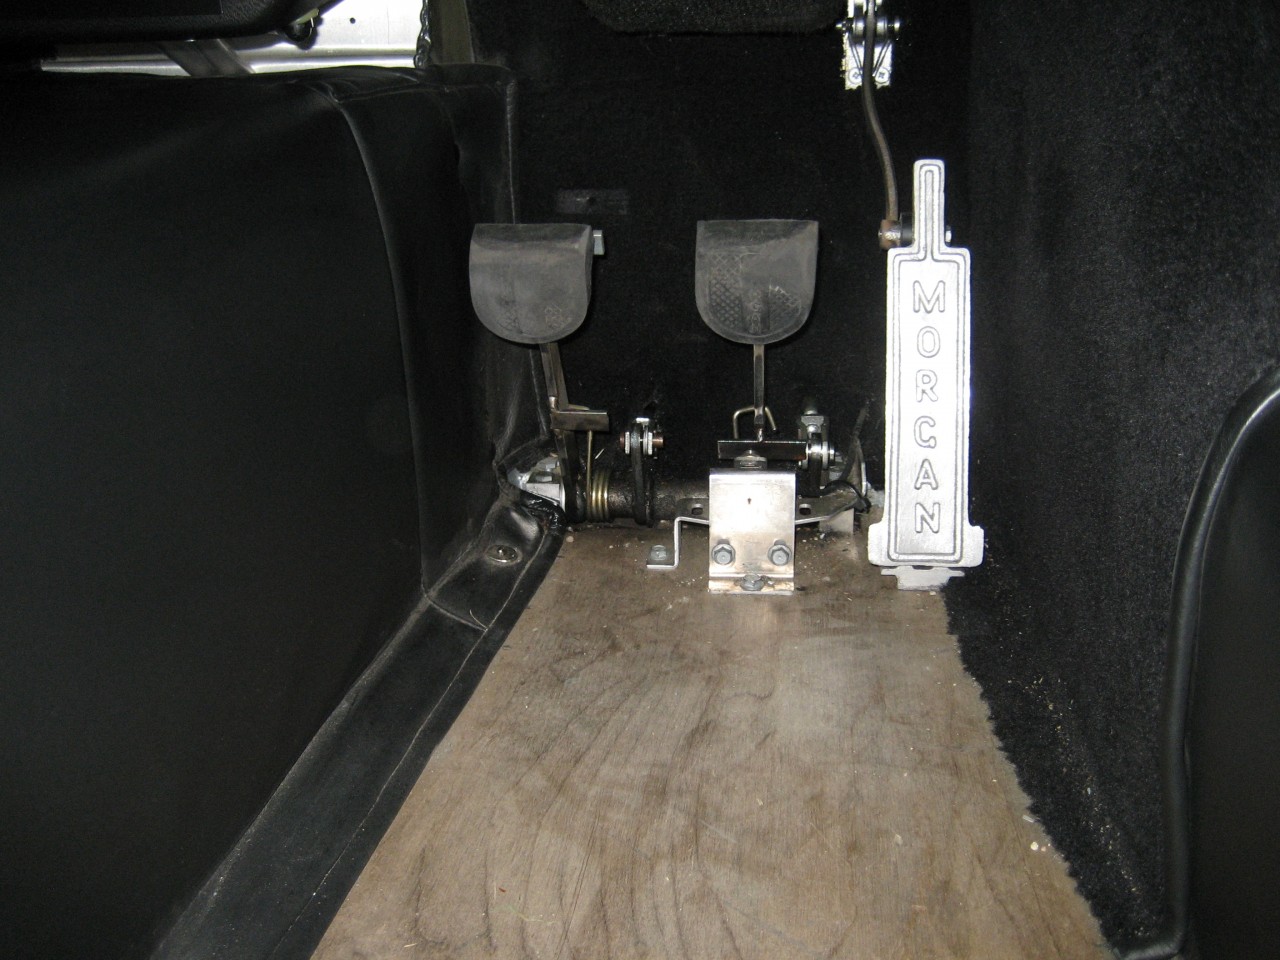
Foot well, which I couldn't leave like that.......(including new organ pedal).
Pedal out for painting:
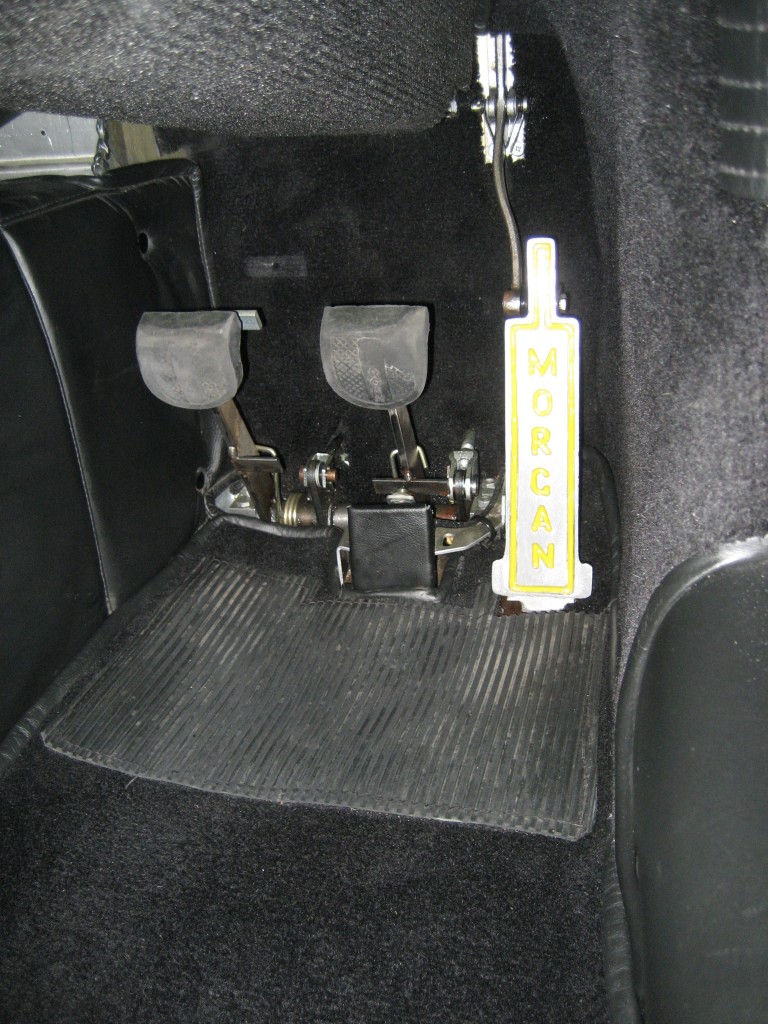
And refitted. Also fitted a small leather cover over the brake lamp switch.
Back together apart from a few long bolts!
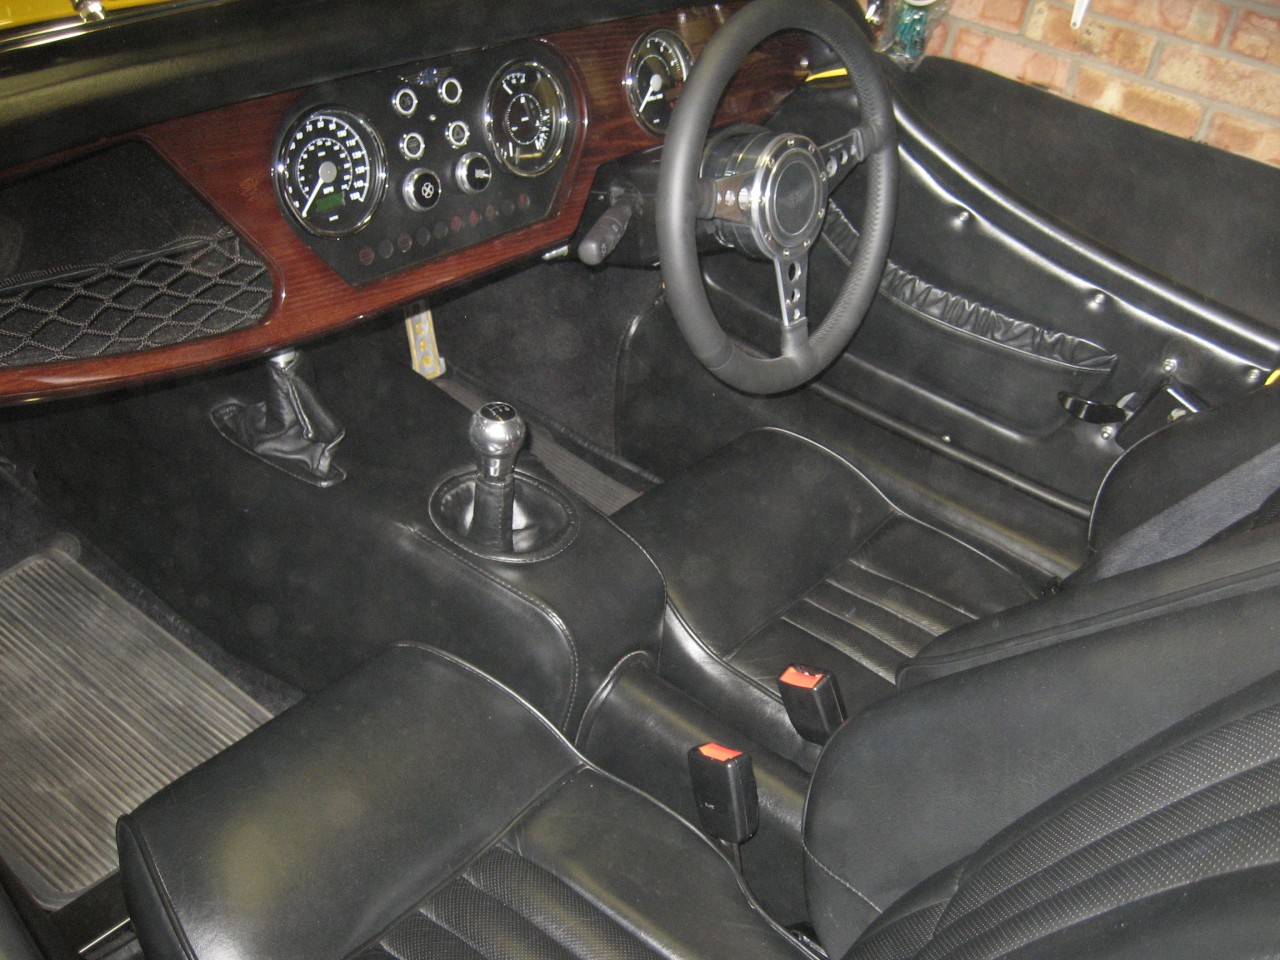
This is the steering cowl bottom half. The location holes are rough cut and I've slotted them to get a bit more adjustment.
The edge is bent over to clear the steering wheel boss, and I've removed a crescent shape to get rid of the rough edge.
This needs more work when time permits.
The Inca Yellow paint I used on the organ pedal.....
***********************************************************************************************
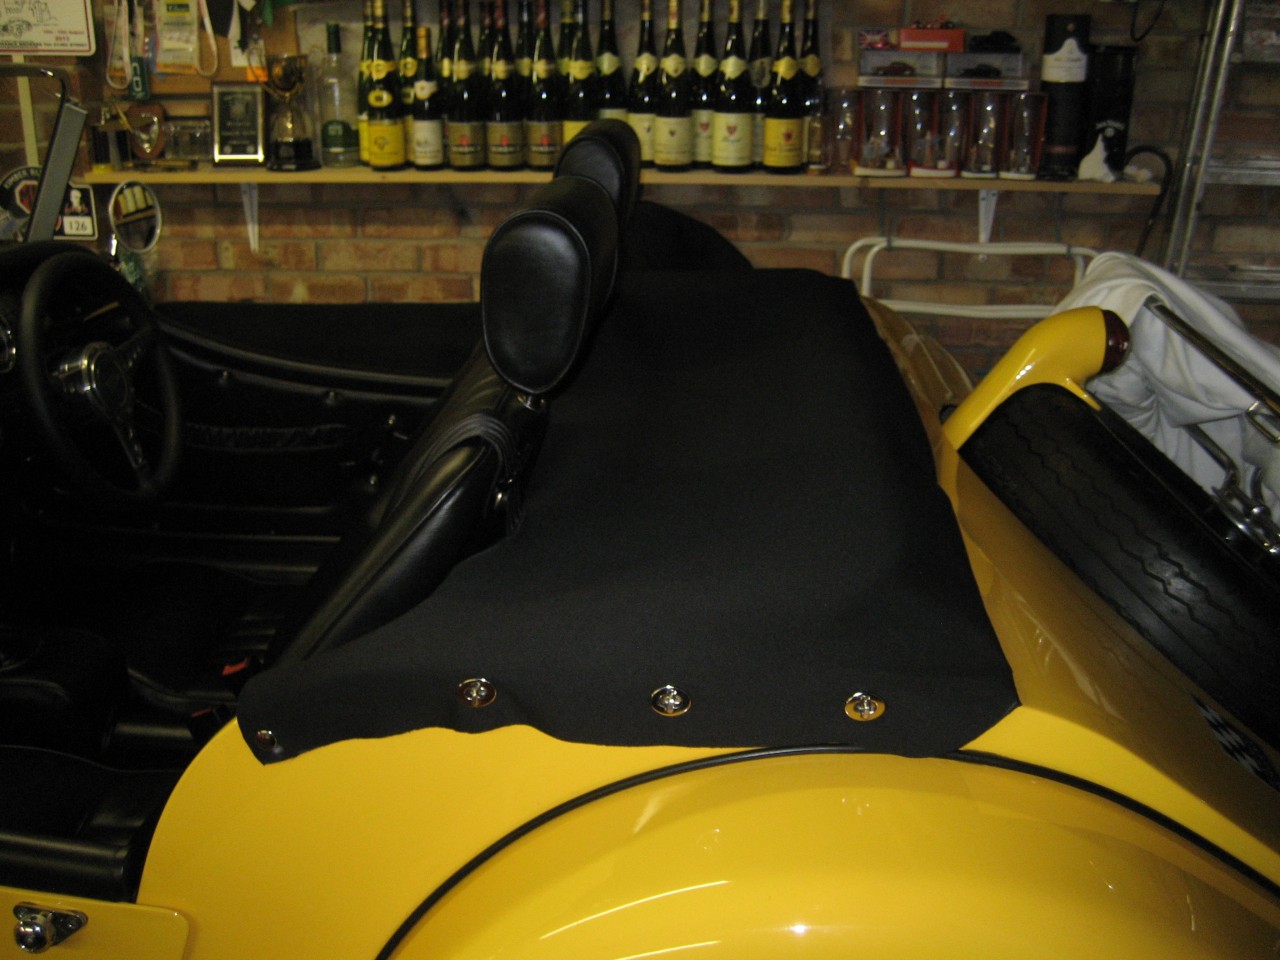
I also had an off cut of Mohair, and a few tools:
Not perfect yet and needs edging but cost nothing to knock up!!!!
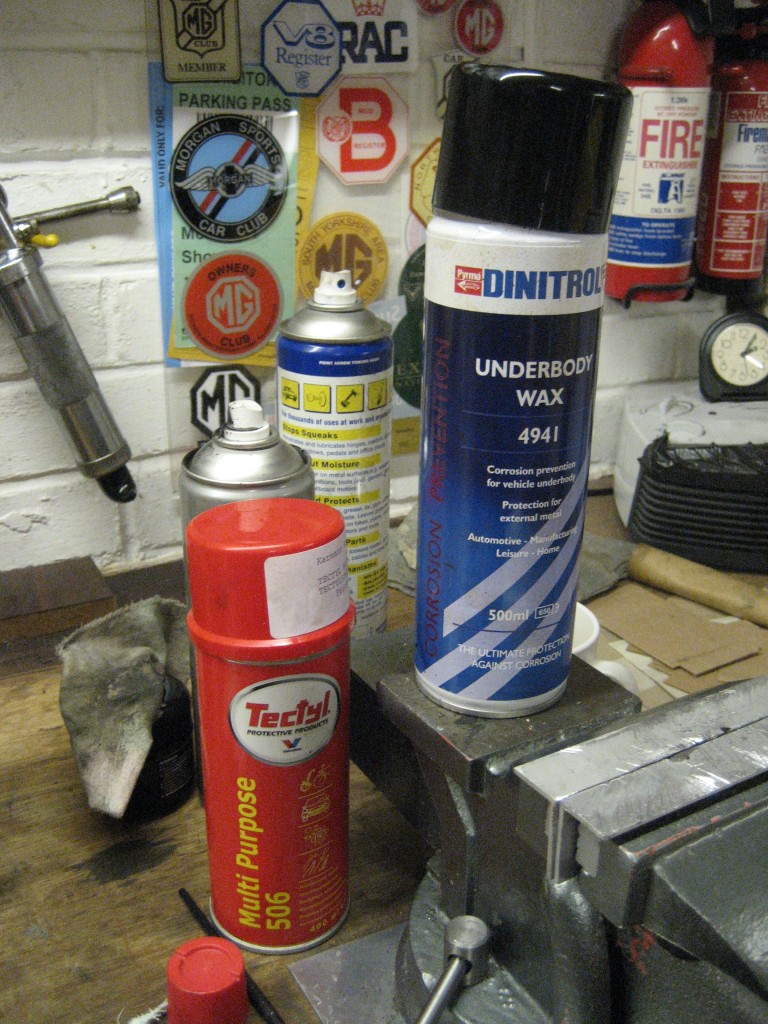
Following Jays tip I've ordered some Dinitrol to touch up the edges, but my mudflaps will take care of this when I get time to make them up.
For the record those wine bottles are all empty
************************************************************************************************
The cowl is horrible, but interestingly the Motolita on Bumble has a much thicker boss than the earlier version. I'm still thinking about how to fix this, it's not insurmountable.
Nigel, definitely no wood on later cars and I reckon it's because the column is an inch lower and fat thighs won't fit between very easy!!!
Now then, Bumble has tested me today. I started on cleaning the underside and couldn't shift the centrelocks!!! I sorted the front nearside with Hulk like violence....... I hate the nearside because being right handed, it's an overhand hit....... Anyway, on the other three, I heated the nut with Mr Blowlamp which made it easier.
The long bolts and Dinitrol arrived today - perfect timing.
I decided to fit the reaction bars, but couldn't restart the first top lube bolt in the thread. It's an unusually fine thread for a big bolt, and I lost an hour this morning farting about with it. I was on the verge of dropping the kingpin, but decided to persevere without the reaction bar for now. I had to file the starter thread in the end but got it back in. Very frustrating.
That will have to wait for winter now!
So on to today's jobs:
Front wheel off and a lot of surface rust after just over a year.
This sums up well my view of taking care of things because leaving it like this will just make things worse........
Anyway.............this one shows how the grease can build up on the rebound spring, and needs checking fter greasing.
And here is the raw track rod and end.
If you don't clean the inside of your wheels, you can't be in my gang.
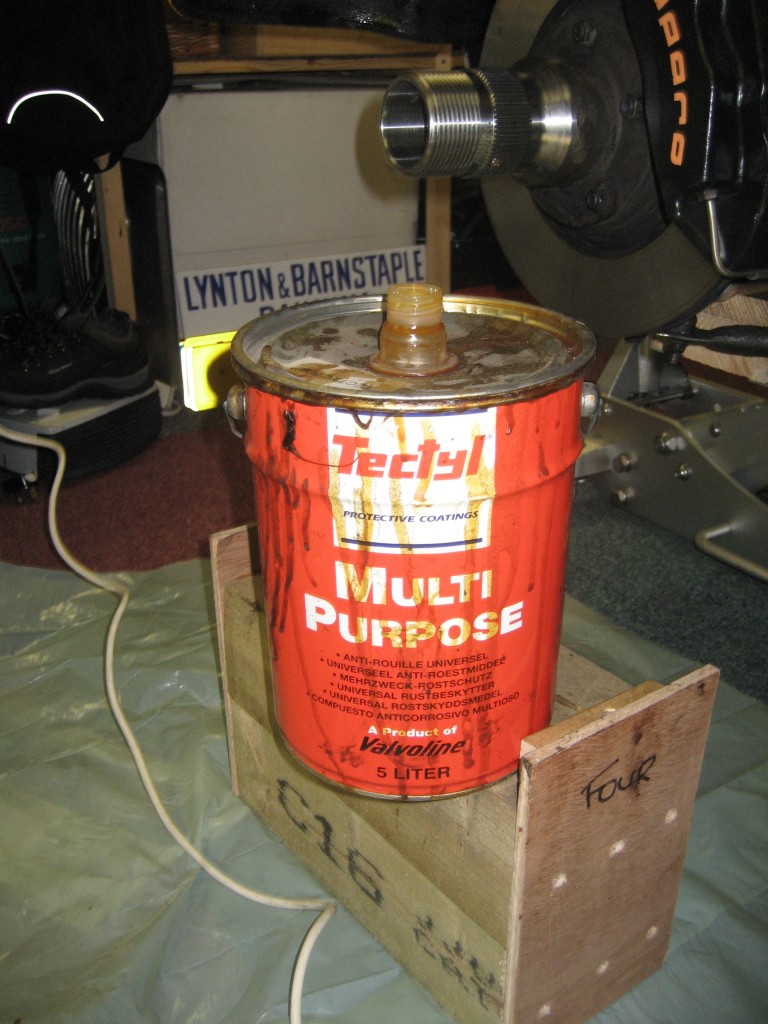
I've had this can of Tectyl 506 for years. I had two for a reason that is lost in time, but I donated the second one to the son in law.
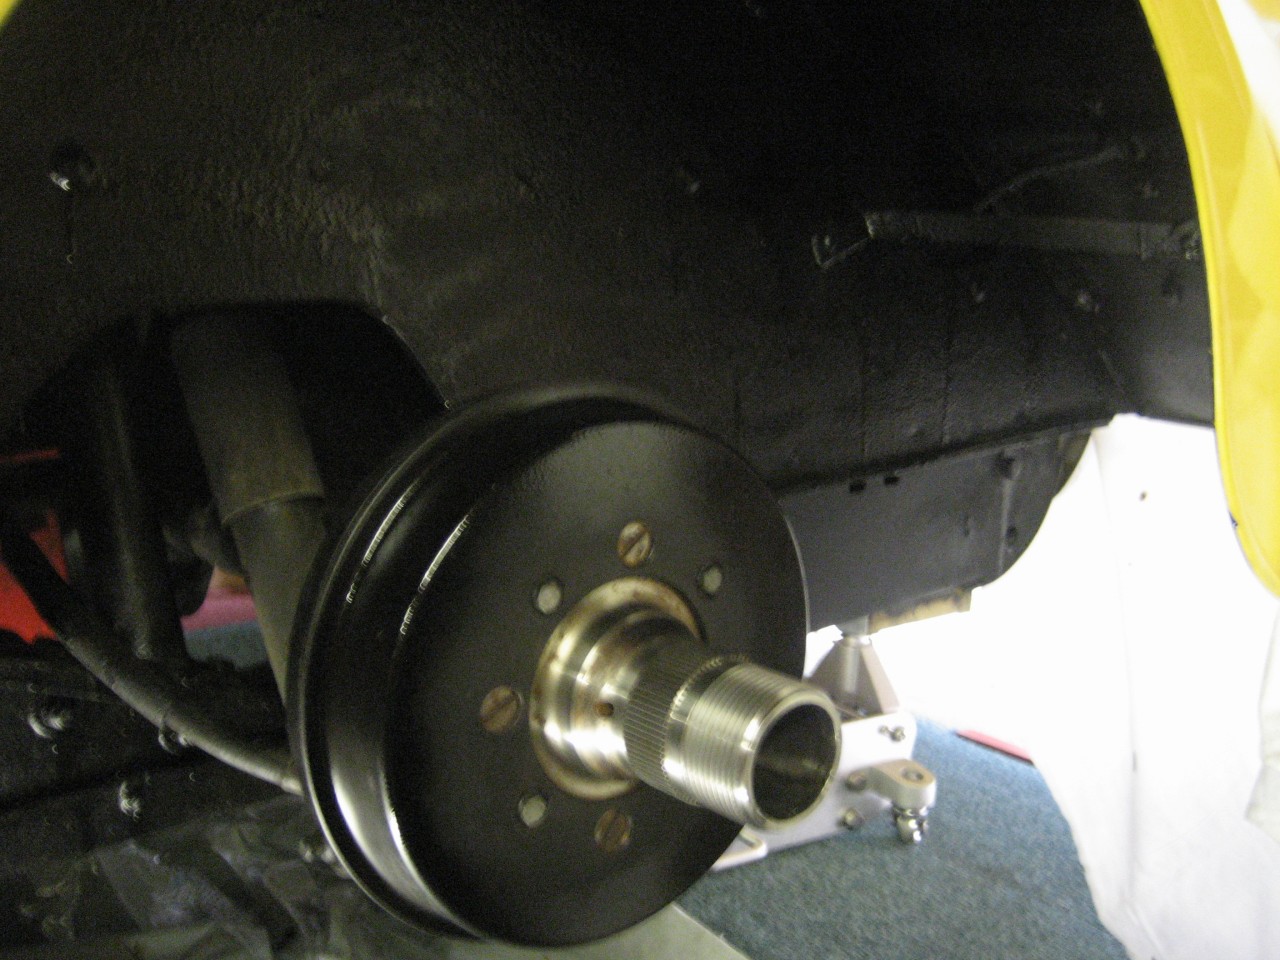
Decided to paint the spinners - spivvy or what?
Just could not resist the temptation..........
My weapons of choice.........
Now licked over with paint, the flash weakens the colour.
Debris from the outer edge of the front wing: Yuk.
Anybody got a budgie?
This is after cleaning and reapplying Tectyl.
Chassis and floor pans. Clean up well don't they!
Some of the seat nuts are just visible as gold blobs.
Mmmmmmmm!
The rear after a bit of effort. Confirmed it's an LSD today.
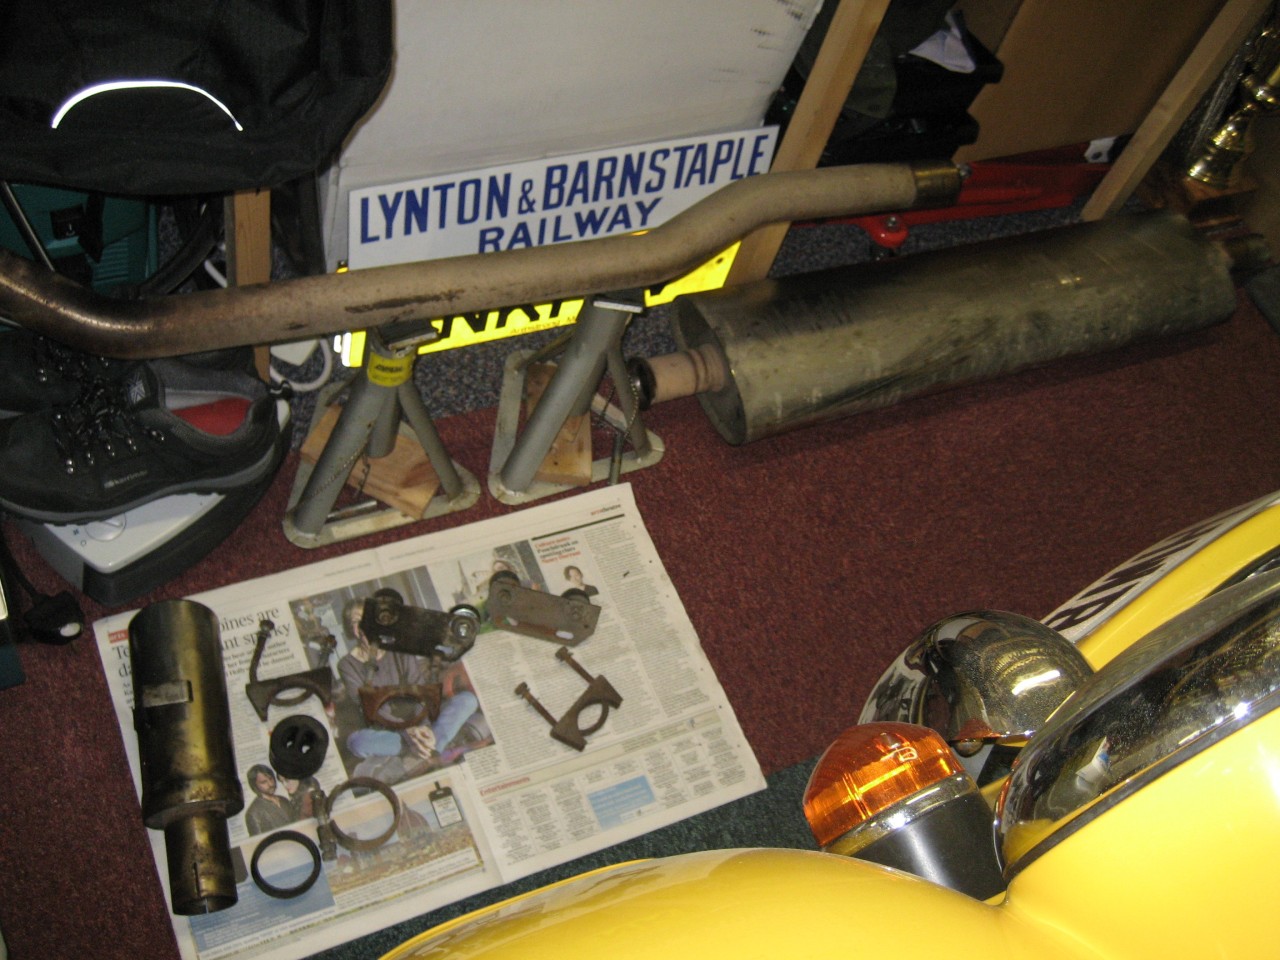
Final job today was to strip the exhaust.
I don't like to see a dirty exhaust, and it had to come off to get access to the running board on that side.
So for today, that's it 0900 to 1900, so ten hours with a short lunch break, and good progress.
The Dinitrol has allowed me to repair the rear wing erosion. I still have to do the offside half and refit the exhaust, but after that I can start 'enhancing'.
I now have two days at work, so limited time is available until Saturday. Sunday is spoken for, so Monday will probably see the hard and dirty work completed.
I'm having a lot of fun though.
Being OCD can be fun....