Current Traditional Morgans have an aluminium chamber under the filler cap with an integral aluminium take off for the tank breather.
So two straight but flexible hoses are required; 32mm to the tank, and 12mm to the breather.
Earlier long door Morgans have a single fuel filler hose which incorporates the breather hose.
This hose reduces from 51mm at the filler cap to 32mm at the tank. The breather is 12mm. This hose may have been fitted way back....
The one piece hose has a reputation for ageing and perishing.
It is also said to be unobtainable. However Librands do sell a replacement which is better than the simple rubber original, being fabric wrapped. More of this later.
My master plan was to replace this hose with a multi piece hose made up of simple straight lengths.
But the big problem is that reduction in diameter in a very short length.
Aluminium and rubber hose reducers are available on line but none cater for 51mm to 32mm.
So this is my story, one of partial success, but also of failure and frustration.
First job was to remove the spare wheel carrier.
I took the opportunity later to treat the timber with Tectyl 506.
The fuel pump is central in this image, with twin take off pipes.
The take off on the right loops round into the silver fuel filter canister, which then joins the other take off pipe at a T piece.
To the left just out of shot is the charcoal canister on the return feed, and the circular grey item is the roll over valve.
From this, the return fuel enters the top of the tank.

The rear valance was originally fitted slightly offset, and the holes had been badly treated.......
On the crossmember it notes "R/H V6 OVERRIDERS".
These are 3mm Allen heads with 8mm nuts.

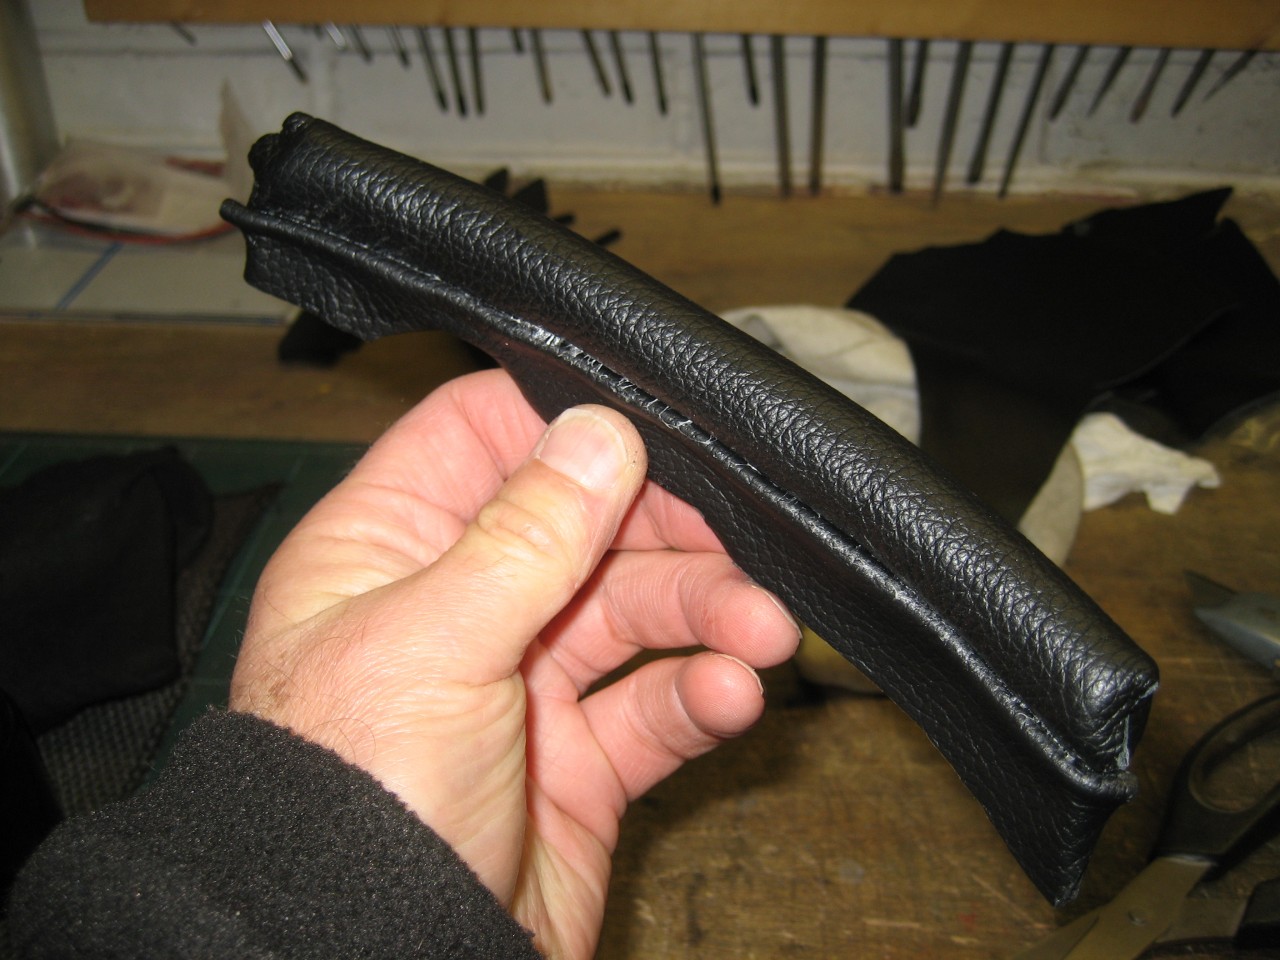
This is the fuel filler pipe.
Although the breather pipe came off, the other two ends were stuck fast and had to be slit with a Stanley knife to get them off, therefore rendering the hose scrap.
The rubber is very hard, but hardly any ageing, so I could have left it alone.
The rubber is very hard, but hardly any ageing, so I could have left it alone.

This was Plan A.
I sent a drawing through to Simon At Sifab, for a short aluminium reducer with take off.
My plan was to attach this to the filler cap with a short straight length of 51mm hose.
The big problem I had with this arrangement was that the 32mm hose I bought for the lower section was too stiff, and despite removing the filler cap from the rear panel, it just wouldn't fit properly.
I retired to lick my wounds and ponder further.

In desperation I tried an offcut from the original hose, but it was too short and still not flexible enough....

While this was going on I filled the holes in the rear valance using JB Weld...
https://www.jbweld.com/
The most impressive fix I did with JB Weld was on a pair of cast Rover V8 exhaust manifolds.
On the MGV8 the downpipe flanges initially were too thin, and they used to crack around the studs.
Both my flanges had cracked and one flange had two pieces broken off.
I put them back together with JB Weld, not expecting miracles, and yet these repairs held for several years.
I eventually replaced the cast manifolds with tubulars and sold the manifolds on, making it clear how they had been repaired.
The only thing to watch with it is to allow plenty of time for it to harden off.
Additional Comment..
Epoxy resin. Various formulations are available for different applications. By far the best on the market IMO.

I decided to cut my losses and get a hose from Librands.
Excellent service from Rob Wells.
Although its advertised for Zetec cars it also fits the Roadster.

But I hadn't totally given up on the idea, and had also ordered some lined silicon hoses, which are fuel resistant. 51mm and 32mm.

Although I decided not to fabricate my own hose this time, note here that a short straight length of 51mm hose with the adaptor, and a shortened length of the 45degree silicon hose will do the job.

So this is the breather reconnected.

This is the tank connection with a superior hose clip.

And this is under the filler cap.
This was an absolute swine to re-attach.
I tried it first with the filler cap removed but not a chance.
The filler cap is held with 3x 5/16" nuts.
With the filler cap refitted, access is tight and the hose is a really tight fit.
Really, really, tight. I had to replace the setscrew on the (original MMC) hose clip as it was just too tight to fit.
I used an Allen headed bolt, metric thread. What a sod this was to fit...

All back together and smartened up!

I replaced the three 13mm nuts here with stainless, but one of the coach bolts stripped.
They can be drifted out from below, and so I replaced the lower two with 8mm bolts and penny washers.

The length is a bit marginal and so I used the extended bolt on the right.

And so there you have it.....