I haven't been idle since my last installment. So here's an update on work in hand.
First the front UJ grease nipple. Not entirely clear from the photo but a standard gun won't fit because the UJ yoke gets in the way.
It's a matter of one or two mm. When I get a needle dispenser I'll post a picture.

........................................
The fix used by several manufacturers back in the day for inaccessible grease nipples was to remove the grease nipple during service and fit a longer one (these used to be available about 1.5" long. After the grease the nipple MUST be changed back as the angle of the yokes would shear it off.Some cars even had screw slot blanking plugs where there was not even room for a short nipple. Sounds a faff but in reality takes seconds and as you can image a few pence compared to a new grease gun or fancy end piece. I am sure someone somewhere would have stock and with a 1/4 drive small socket could be a useful addition to your kit.
........................................
I already have a selection of longer and angled nipples Colin, but my longest straight nipple does fit but still just not long enough. I quite fancy a box of special ends but it's also tempting to make up something special.
At the moment it's low priority........
At the moment it's low priority........
........................................
This is my Centenary badge. It's badly pitted. I tried a vinegar bath and it did help a bit, but except for the centre rectangle, which appears to be proper enamel, the rest of the black is paint which shells off.
At the moment I've removed it all, after trying to lacquer the badge as a preserver. It didn't work. Disappointing quality.

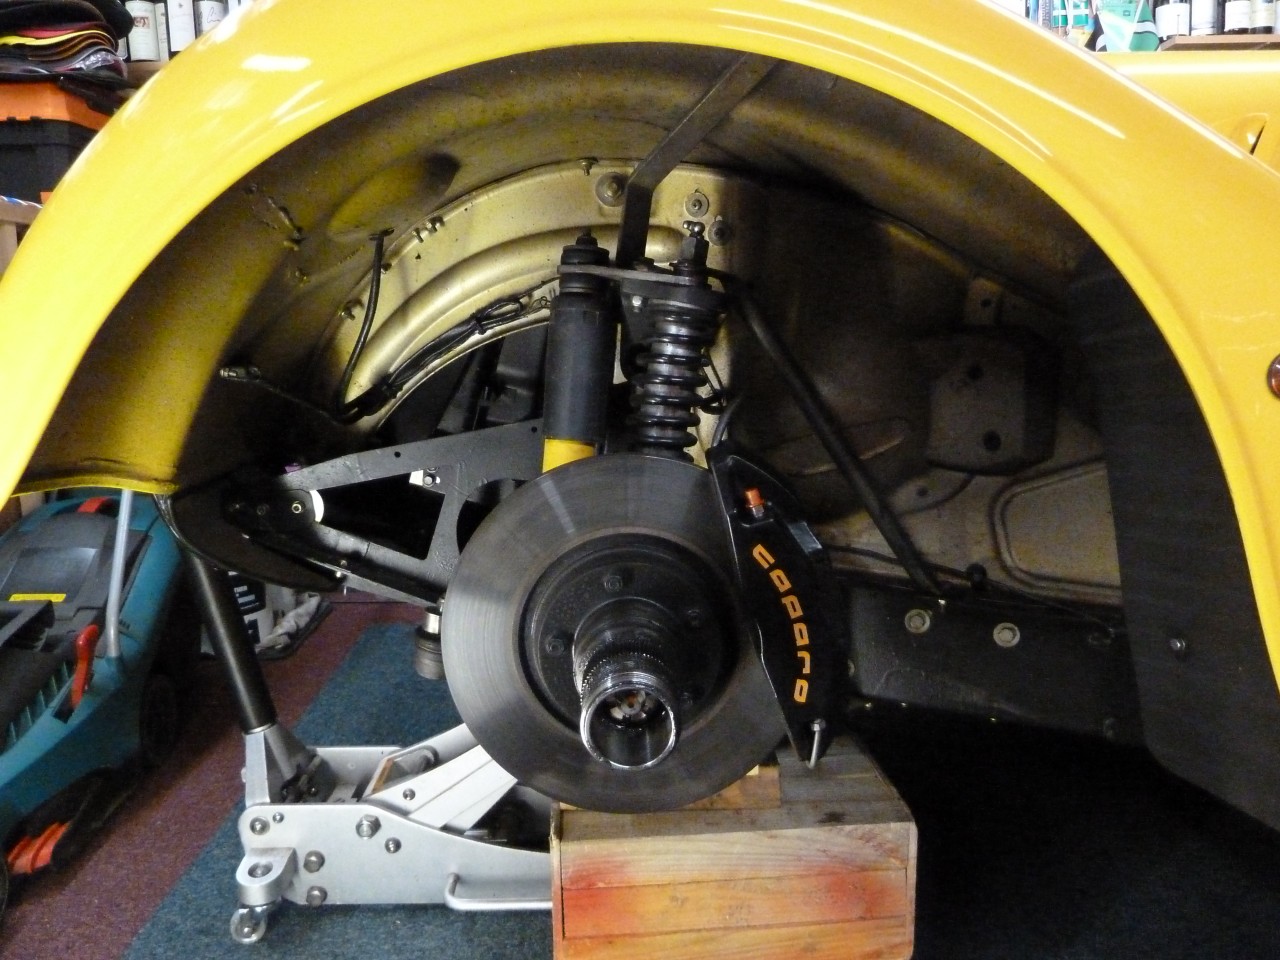
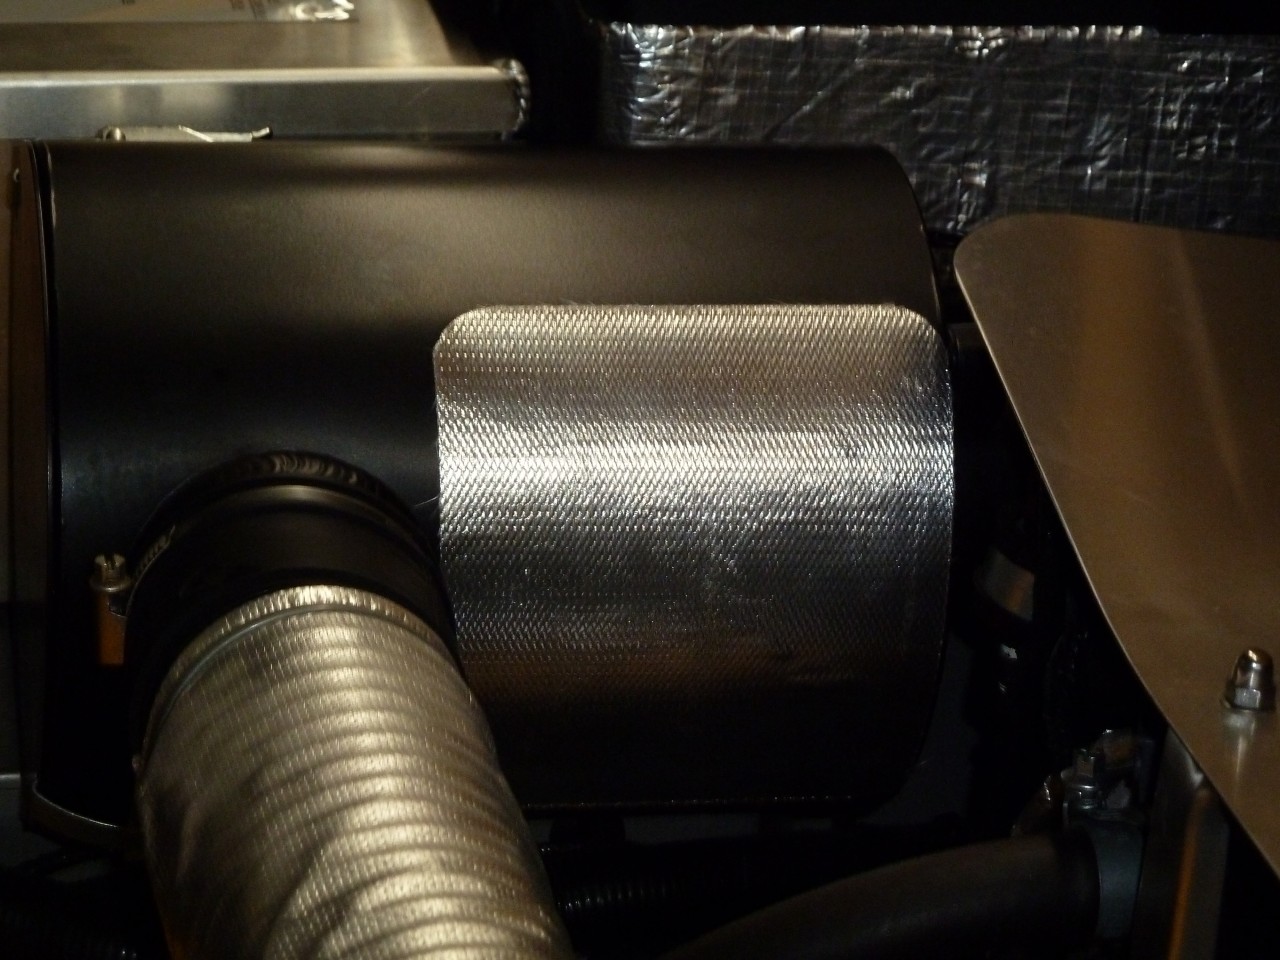
This next photo is looking down at the inner wing. I've grommeted nearly all the holes in both inner wings and there are plenty.
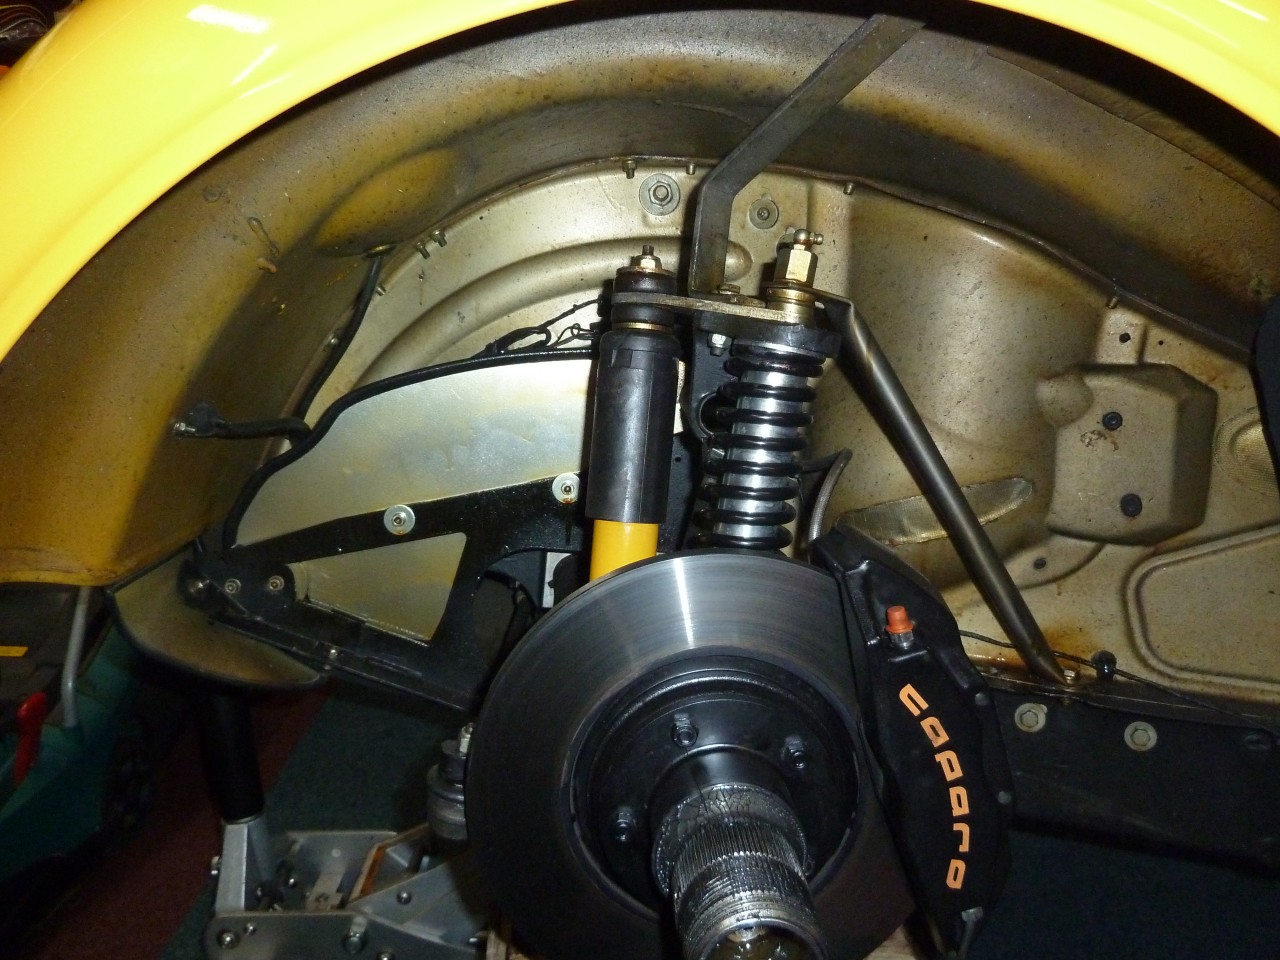
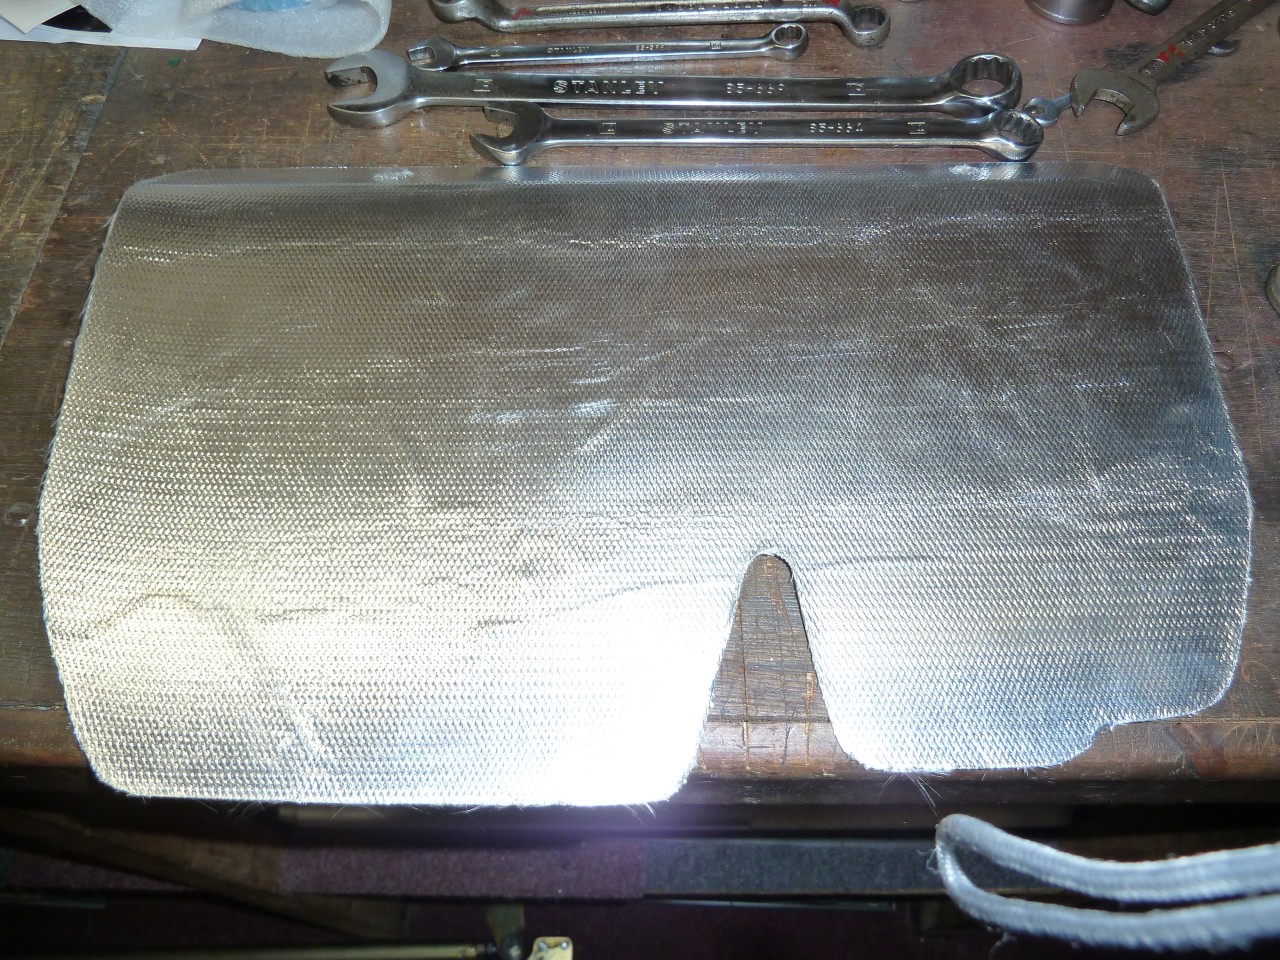
This one is an elongated slot which is used to provide clearance for the steering column, but is on both sides. Anyway, having considered leaving it open, I decided to seal it with a Reflect-a-Cool adhesive patch.

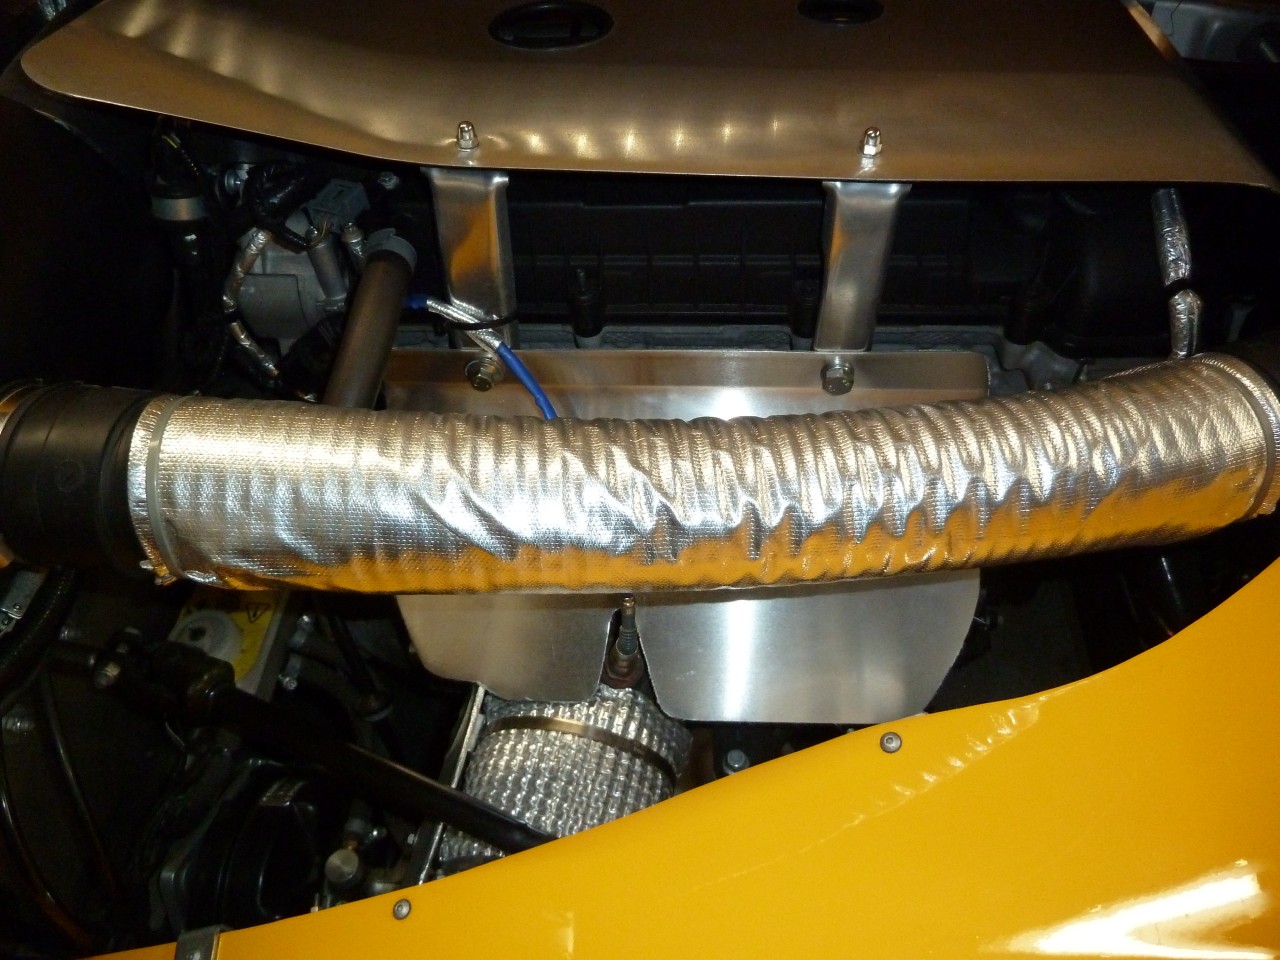
And while the Reflect-a-Cool was out, I made up a sausage for the intake tract.

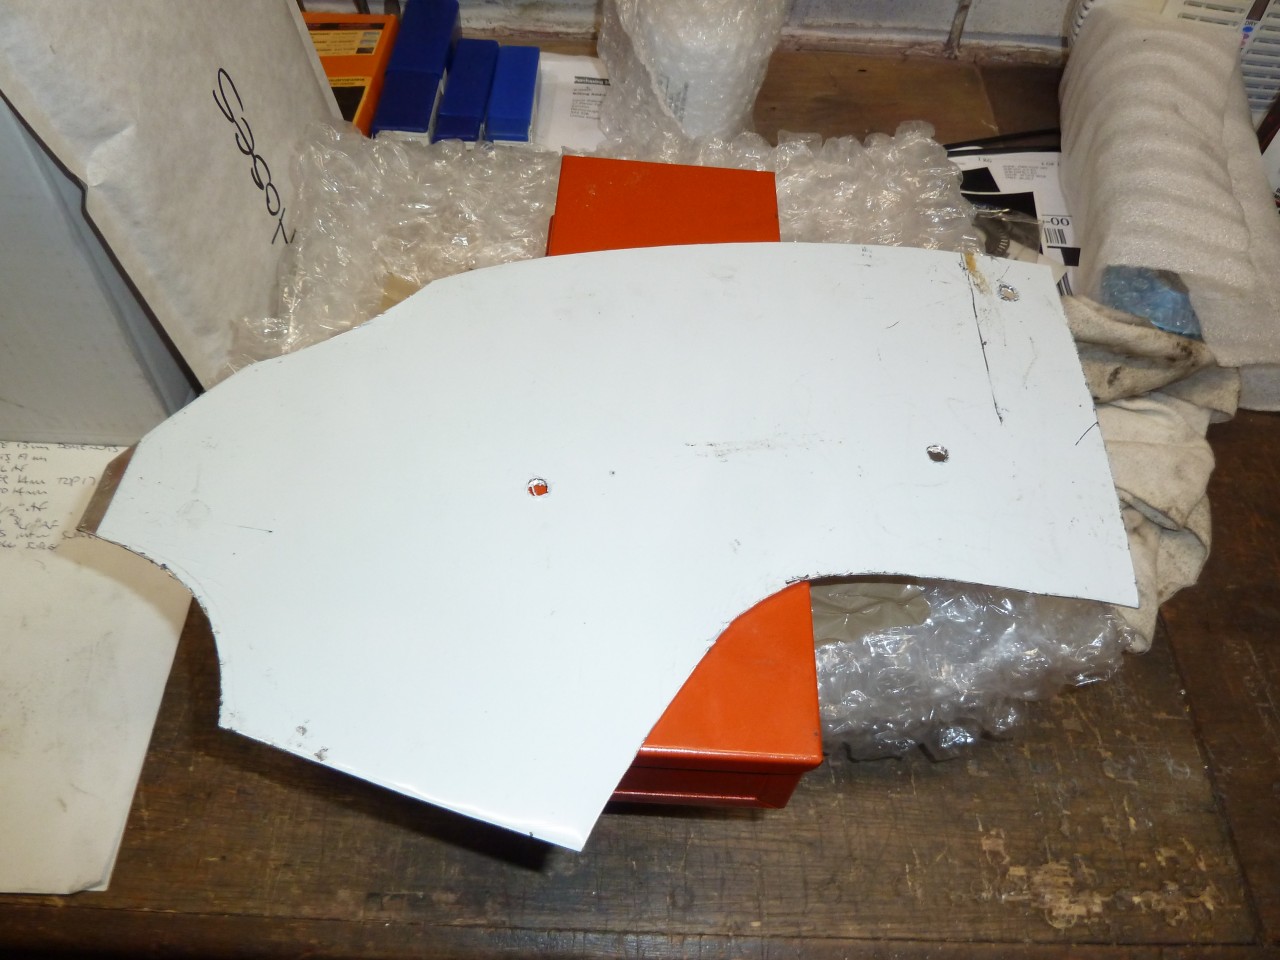
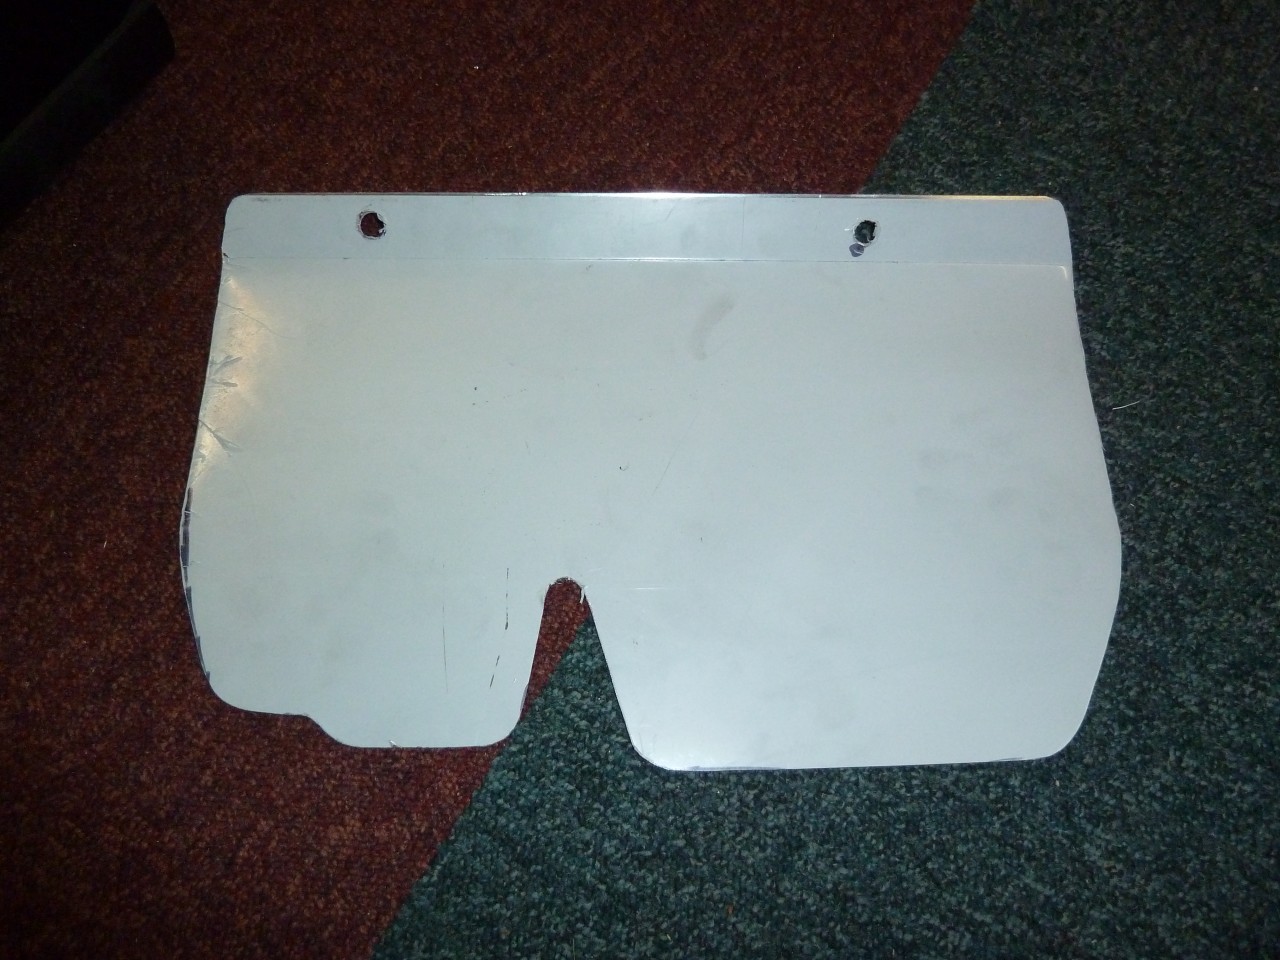
I've been pressing on with my under tray. It needs to be in two parts, and the easiest piece to do is that which goes between the cross tube and the sump.
I'm now confident enough to use 1.5mm aluminium, bent in my wood and G clamp metal bender:

Having begun with a cardboard template - the panel I fitted to Bumble slotted over the lower chassis horizontal, but this time I've fitted it underneath, with a neoprene gasket, and secured using the towing eye bracket fixings, and the two holes on the opposite side. The angled flanges at either end make this strong.


This is the completed item:

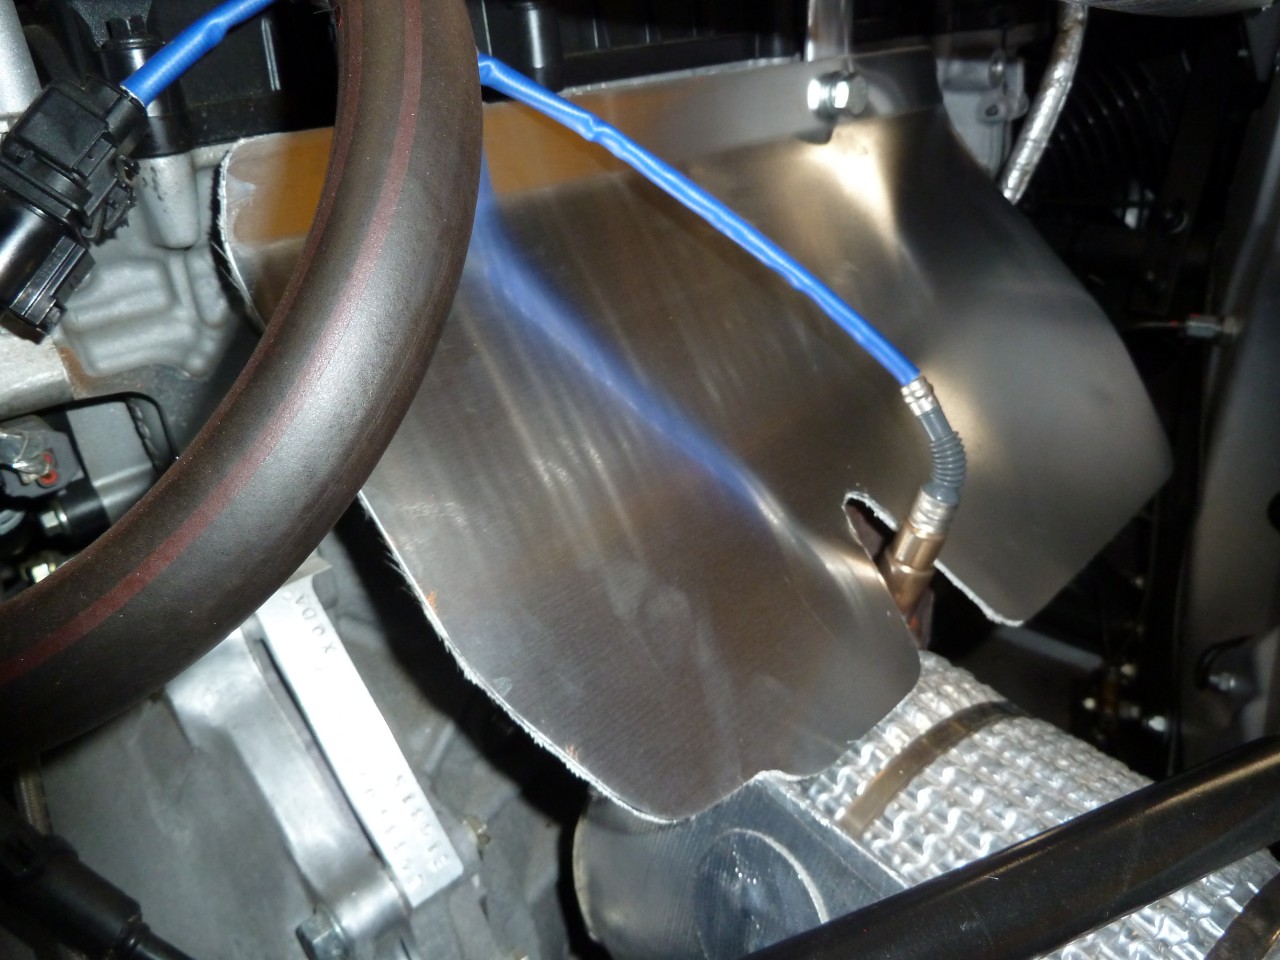
This is the gap:

And this is fitted:


The section from the cross tube forward takes a lot more effort, and I've been working on this for a few days on and off.
I removed the over-riders and front number plate box and took the opportunity to improve the paint on the back of the over-riders. This is VW Reflex Silver.

After cutting the aluminium sheet to an approximate size, the fun starts. First the front bend - done over my jack handle.


Use decent snips............


This is how I got a match each side. After cutting as much as possible it's painstaking filing.


Now came the tricky bit. On both my previous Morgans the over-rider brackets are fitted with the horizontal flanges facing each other.
These flanges have four holes and these can be used to secure the front valance. But on this car the brackets are the other way round.
So I had a choice of either changing them round, or making my own brackets.
So here is my starting point. Two brackets fabricated together and then cut in half. The front one is on the vice, the rear is over the screwdriver.
So here is my starting point. Two brackets fabricated together and then cut in half. The front one is on the vice, the rear is over the screwdriver.

This is how they fit, using existing holes.


Now painted black and fitted:


After test fitting and adjusting:

After etch primer and grey primer.
The hairdryer is to warm things up. This is today and it's a bit chilly and damp.

First coat of yellow. This is a base coat and is FIAT yellow.
Now I must be patient and let this harden off for a few days before flatting down, and applying more yellow and lacquer.
Painting is my least comfortable activity - I'm not patient enough!!!

Pictures of final fitting will follow in a few days, depending on how the paint goes on.
Well, over the last few days I've finished the lower valance.
Three colour coats and a few lacquer coats, flatted down between coats, so plenty of waiting involved.
This was the final top coat prior to lacquering:
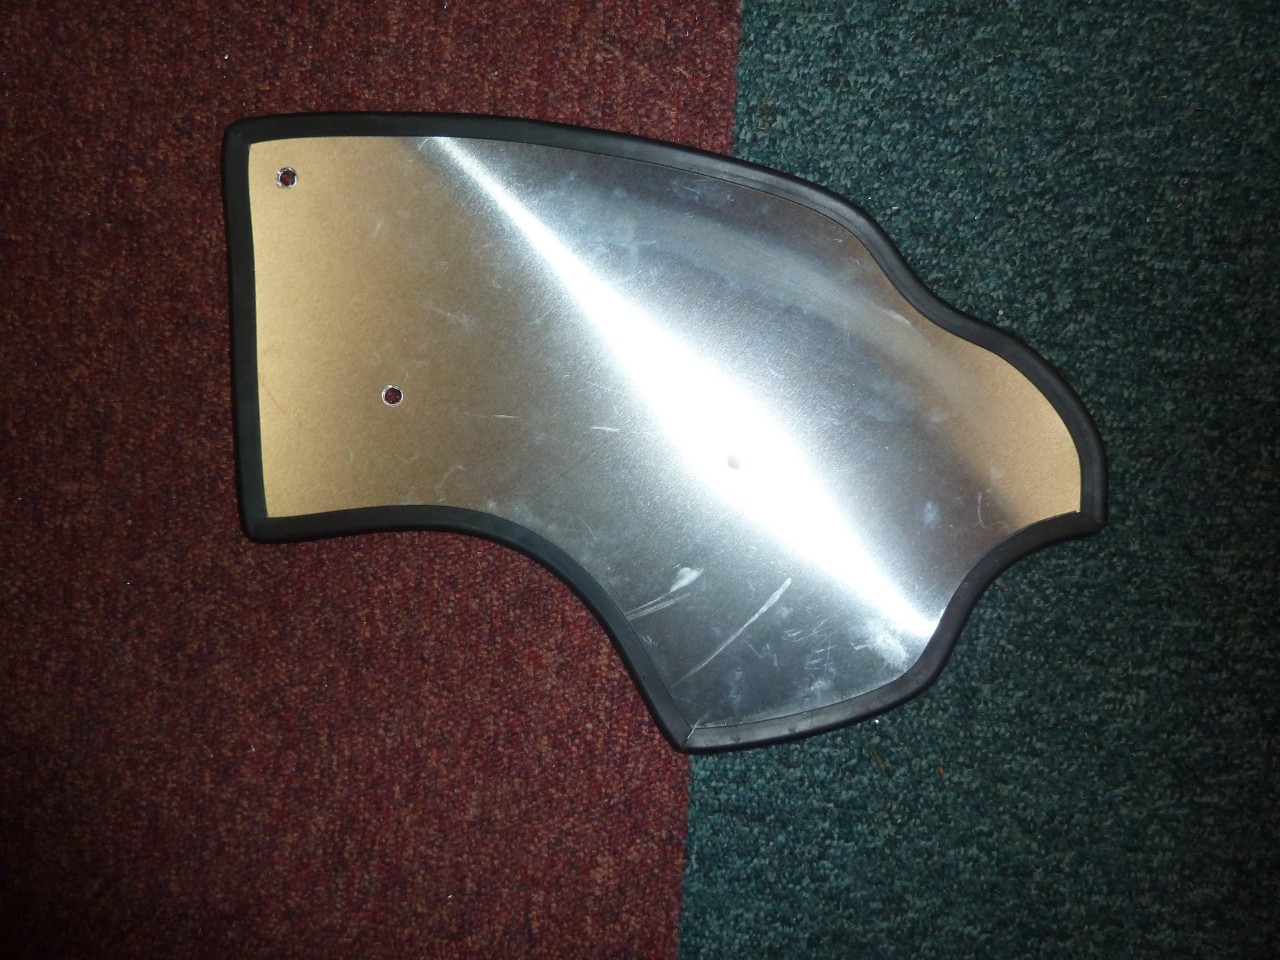
This is the inside. Small leather patches to protect the paint. And neoprene edging to the front.
Three colour coats and a few lacquer coats, flatted down between coats, so plenty of waiting involved.
This was the final top coat prior to lacquering:
This is the inside. Small leather patches to protect the paint. And neoprene edging to the front.

Completed:


It's turned out better both in design and finish than the one I did for Bumble.
A reminder how it looks as standard:
A reminder how it looks as standard:

And now with the panel added:


And with the number plate box added:

I may now have a go at two quarter valances - one either side of the over-rider irons. I've done some cardboard templates today................
I'm pleased with how this has turned out. It keeps all the road dirt out and looks good, even though it's all but invisible from above.
I'm pleased with how this has turned out. It keeps all the road dirt out and looks good, even though it's all but invisible from above.
A final push this week to get the quarter panels finished.
Starting with cardboard templates. Then the usual bending process, with the outer curve trued up with a file and some coarse abrasive.

I'm hoping to keep the brackets simple - one bolt onto the over-rider brackets and one into the panel.
I won't know if this will be good enough until a road test.


This is after etch primer, two grey primer coats and four colour coats flatted down between coats, plus two coats of lacquer, flatted and polished (over a few days).
The slot goes around the over-rider bracket and I would have preferred to keep the neoprene U channel but there isn't enough clearance. Here it's fitted but it had to go.


The other side.......

This is how it fits. Held onto the bracket with a penny washer, so no drilling required.
If it doesn't stay put in use I may have to put an extra hole through the bracket.
UPDATE: I did add another bolt, through a new hole in the over-rider brackets each side.
UPDATE: I did add another bolt, through a new hole in the over-rider brackets each side.

This side went straight on.
The other side took a bit of fettling.


And that pretty much brings my metalwork to a finish. All I need now is a bigger wind-stop, and that will wait for a while.
This mod really tidies the front and could easily be offered by the factory.
This mod really tidies the front and could easily be offered by the factory.
.............................................................